Nowadays it isn’t new if you surf on the Internet and encounter a slideshow or a slider in a webpage. People love sliders because this is a super design tool which can help to grab your visitors attention.
But how you can you cheer up a slider? Use layers! And if you put some attractive texts, icons, buttons, images or videos on your slider you can share content with your visitor.
In Smart Slider 3 you can choose from 24 layers, so there are tons of options to add various content to your slider. What kind of layers can you even use? Why is it useful to use layers in your slider? How to use them? In this article I will write about what you should know about layers.
What is a layer in Smart Slider 3?
Layers can be familiar for you from modern graphic softwares like Photoshop. We can tell that layers are containers which store your content. According to Wikipedia.org
“Layers are used in digital image editing to separate different elements of an image.”
Each layer has its own content, so it can be an image, a heading or a button, which can tell your story. And what is important that you can move and change them without affect on other layers. They are fully customizable like in Smart Slider 3 too. You can change the size, the color, the font-family, transparency, the position and almost everything that people usually want to change. And in the live slide editor you can see all the changes that you have set without saving it.
What is even more superb? You don’t need to code to change something, so Smart Slider 3 is ideal for every beginner.
In the plugin you can find everything in one place, it’s easy to use and not least, fully responsive. There are 5 main layer groups available, each containing a set of layers you can use for similar purpose. You can learn more about the groups and individual layers below.
Get our latest news, tutorials, guides, tips & deals delivered to your inbox.
No spam. No charge. Just curated emails.
📘 Content layers
Content layers are the most often used layers which use content elements. You can share content with your visitors with these layers and you can draw their attention as well. Content layer can be a heading, a text, a list or a button, so something you can publish a content with.
Heading layer – free
Heading layer is one of the most popular layers which you can make headings with. Many visitors in most cases just skip the contiguous texts and pay attention to only the heading part, and if it seems interesting, they will read the other parts afterwards. So the heading is the most often used method for communication with the visitor and calls attention. Use it for a product name or a good blog title which can reach that the visitor read more.
But a heading is not important only for readers, because search engines look for them. At a Heading layer you can set the HTML tag which means you can use h1 to h6 or div. And this setting is good for SEO, because Google and other search engines can manually read the content from your slider.
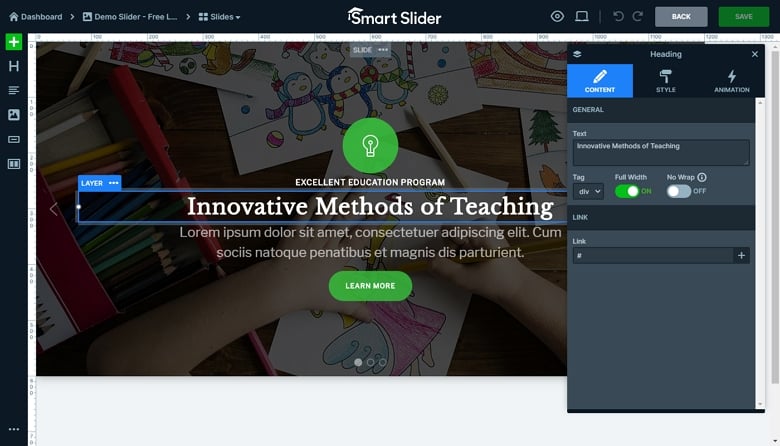
Heading layer options
But Heading layer is not just a basic heading text, because in Smart Slider 3 you can position or animate it, you can set the style and you can customize it as the other layers as well.
In this layer you have the opportunity to have a split text animation. That means you can animate your text either separated by words or its characters and it can be a cool effect. So if you would like to highlight a piece of information, you can use this nice effect to achieve that.
Heading layer tips
Use Heading layer for highlighting an important, relevant content
Set an easy to read font and an ideal readable font-size, and use matching fonts together.
Use the font-size modifier to make your text responsive.
Text layer – free
With the Text layer you can make paragraphs which can tell your story. You can display longer, flowing texts on your website, where you can explicate what you talked about in the Heading layer.
But what is the difference between the Heading layer and Text layer?
Text layers are paragraphs which are defined with <p> tags, these are usually the default text on most web pages. But Heading layers are typically used for large texts, where the content and the tags are very important because of SEO. Users skim the pages by their heading, and after they read the paragraphs. So a Text layer can be below a Heading where you write about a topic.
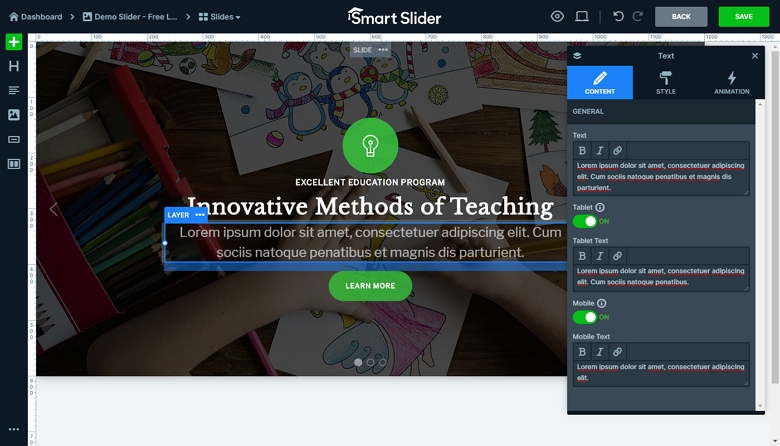
Different texts on desktop, tablet and mobile
At Text layer you can also set up different texts for different devices. This option can be important if you would like to make your slider responsive but you have a longer text which doesn’t seem well on a phone. This layer can be useful, because you can make your text shorter on mobile and tablet, so the text can fit in the limited screen sizes of mobile devices. You can even use HTML tags in your text which can customize your content.
Text layer tips
Use for descriptions or paragraphs
Don’t be afraid to use empty spaces between the paragraphs, because the visitors won’t read a crowded. Use a minimal nice layout!
If you would like to put a link into a text, or make a word strong, you can use HTML codes in that
Use it if you want to display different texts for different devices.
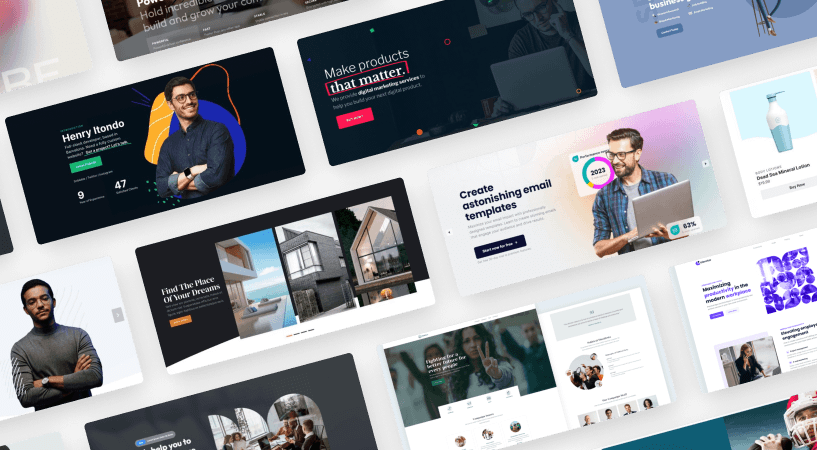
The new way to build a Slider
Next generation visual editor, customizable animations & effects, and access to hundreads of premade templates.
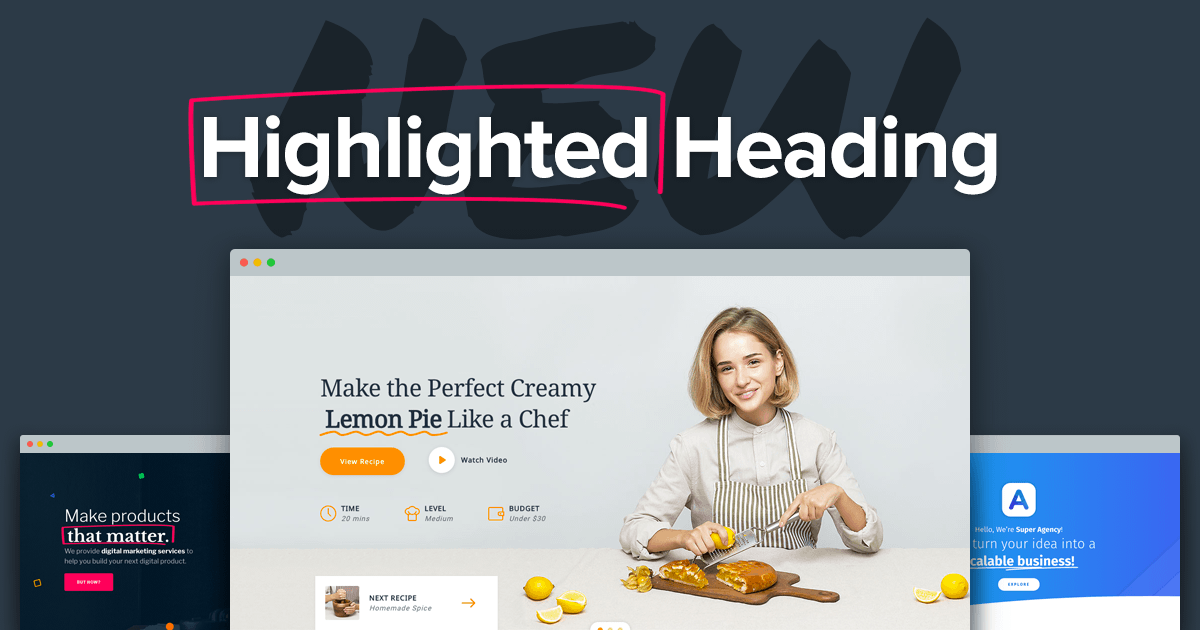
While in the Heading layer you can create a simple headline, in Highlighted Headingyou can put the focus on the important part of your heading with a highlight.
You can choose from a lot of types of highlights and you can customize their width and color as well. What is more you can also animate them. You can set the duration, the delay of the animation and you can loop it too.
Nowadays you can encounter this type of highlighting in a lot of website, and I can tell you it is trending now, it is a good design element which can cheer up your website.
Animated Heading – PRO
This layer is available from version 3.3.8 PRO
Animated Heading layer animates your heading and helps your visitor focus on your messages in one place. So with Animated Heading you have the opportunity to have more text in one place and you can animate or change these texts. This layer can rotate different highlighted texts with the chosen animation, like the typewriter or rotating effect. There are 9 animation types available now what you can use.
Maybe you would like to loop your animation, so with a simple switch you can turn the loop on and can change the delay, the speed and the duration as you imagined.
Button layer – free
I think button layers are the most important part of some slider types, because you can make an interaction with your visitor with the buttons. You can use these call-to-action elements if you want to give the visitors something to click and take an action. With an attractive text like “Learn more”, “Read more” or “Sign up” you can navigate your visitor to another part of your page. Or if you promote a product or a service on your slider, this is a good opportunity to add a button to your sliders and navigate to the next steps.
If you have a one page site, buttons are very useful part of the navigation. In Smart Slider 3 you can add a link to your slider and can smoothly scroll to a certain section of your page.
What is also useful that you can navigate to another slider with the link option, and you don’t need to code for that. Also you can open your content by clicking on your layer in a lightbox which can be really cool.
Button layer tips
Always take an action if you click on the button
Don’t use too much text on your button!
Use matching colors, and make it readable
Use hover effects to make it more powerful
Button layer is better than a simple text layer with a link
Use paddings before and after the layer
The background of the button and the slider background should be in harmony
List layer – PRO
List layer is a very simple layer which you can make lists with. Every word in a new line will be a new item in the list. So you can create a list without having to code it. You can also choose from more list types what you can set at the Layer window. You should pay attention not to create too long lists, because your slider will be crowded. List layer
📷 Image layers
You can set an image as a background, but this isn’t the only option to use an image in Smart Slider 3. You can use image layers, which you can fully customize, you can set the width and the height of your layer, you can link them, and you can use more layers on your slider. Not only a simple image layer is available, but there are layers with effect or captions and you can use icons too.
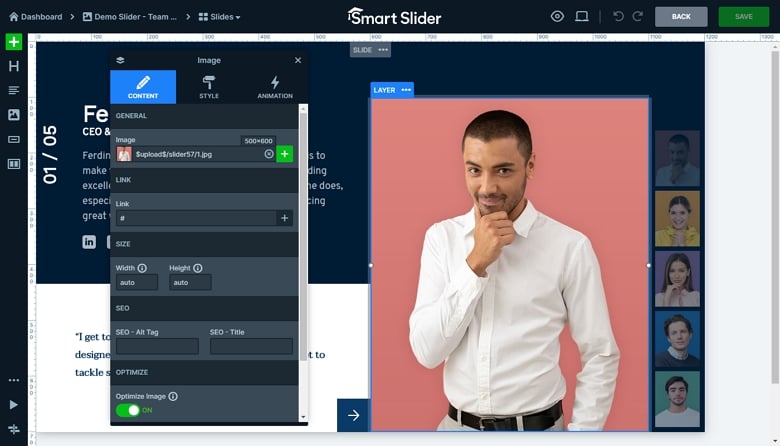
Image layer – free
With image layer you can put images into your slides. Also you can link them and you can make your image SEO friendly. There is an option to optimize your image if it’s needed, so you can make optimized images for mobile and tablet, and your slider will load faster. With image layers you have tons of options to design your slider, and if you use canvas editing mode, then you can put a layer above or below another. But with using structures you can create beautiful layouts as well.
Always fill the Alt tag and the Title because it’s good for SEO, and Google and other searching engines will find your page easier.
Use Canvas mode if you want to take your layer above or below another layer.
Keep the image ratio.
Don’t use too big images (more than 1MB). If your images are too big, you should resize them before you upload, otherwise your slider will load slower.
Image area layer – PRO
The image area layer is very similar to the image layer, but you can make it always have the same size. You will love this layer if you have more images with different sizes and you would like to fill a given area in the slider. For example if you have a WooCommerce shop and you would like to show the featured image of the product, you can use this layer.
There are 2 filling modes available at this layer: fit and fill. If you want your image to cover the whole layer use the fill mode, or to make the whole image visible inside the layer use the fit filling mode.
Image box layer – PRO
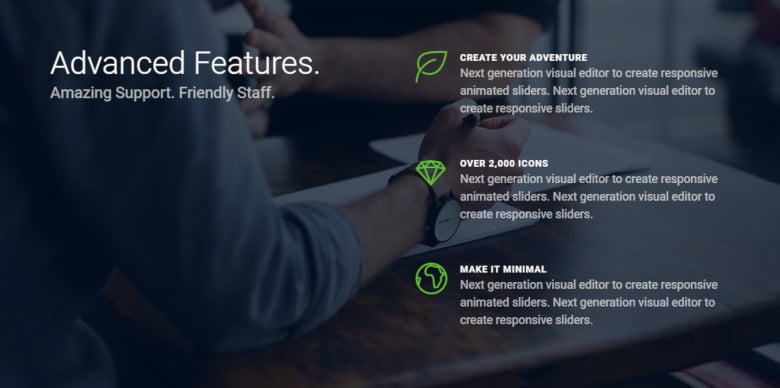
The image box layer uses an image, the heading and the description of the image. This means you can manage everything in one layer, so you don’t need to use other layers for a heading or description. What is also fantastic that you can move your box, so the image and the text together. And with a layer duplication you can easily make a layout, and you should change just the text and the image later, but the layout is ready. Image box – left layout
Of course you can design the heading and the description separately at the layer window. So you can set for example different font-size or font-family, and colors to your texts. Last, but not least you can use icons instead of an image, if you would like to.
Caption layer – PRO
Caption layer is a simple image, which will show a text on your image when you hover over it. It can be useful if you would like to display a little description on your image, and with this layer you can realize it easily.
Icon layer – PRO
With an icon you can always cheer up your slider and your website as well. Icons are very attractive and also look good. In Smart Slider 3 you can choose from 4 icon families, it’s easy to customize, change the size or color, and beside that you can use them on your button too.
Settings of the Icon layer
Icon layer tips
Use correct size which the icon is recognizable
Use one icon set because if you choose from more, the loading time of the slider can be slower because it should load more files
Transition layer – PRO
Transition layers can be used to make the slides prettier, and more interactive. This layer has two image fields where you can set the normal image and the image which appears when hovering over it. I can suggest using 2 images with the same resolution, because the animation looks better with the same size. There are 3 animation types available, horizontal and vertical flip and a fade animation.
💡 Advanced layers
Advanced layers were created for developers or advanced users of Smart Slider 3 who want more functionalities. In most cases you need coding knowledge for these layer but with them you can create your unique slider.
Area layer – PRO
The area layer fills the whole layer with a color, which can be a simple background color or a gradient with 2 colors, but it can be semi-transparent or fully transparent too. In most cases it can be used for creating a line with the option to set the width and the height. So with this layer you can create a cool separator.
But Area layer can help use the slide events as well. If you want to create an animation which is triggered by hovering over a side of your slide, you can put an area there, set a transparent background and at the Events tab you can use the “Mouse enter” field. Building an animation can also help you in most cases.
Input layer – PRO
The input layer targets the developers who would like to start a search or a newsletter subscription from the slider directly. The input layer is a simple HTML input tag. If you have some coding knowledge, you can write your own code.
It is also an option to use JavaScript events to OnKeyUp or OnSubmit, and you can also send the data to a PHP file, where you can query with posts or get methods.
iFrame layer – PRO
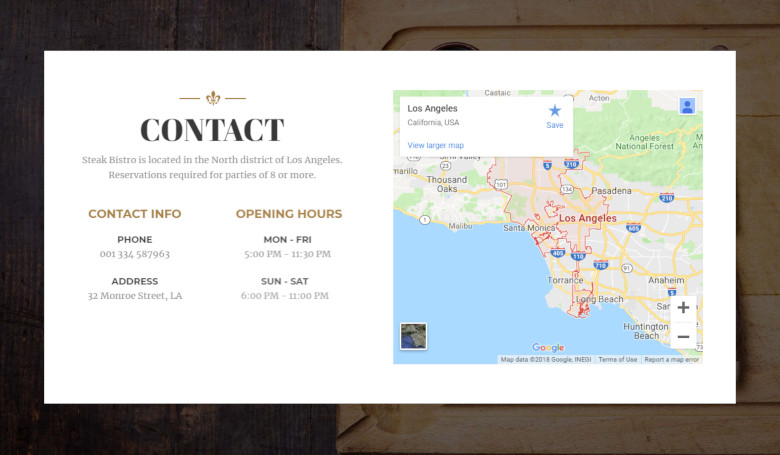
IFrames are inline frames what can be used to embed in another document, for example a webpage or a video. So it can be a good solution if you use another video sharing platform than Youtube or Vimeo, you can use this layer and use your video in your slider. But truly you can put almost everything into an iFrame, for example Google maps, and it will work. Google Maps in iFrame layer
Joomla module layer – PRO
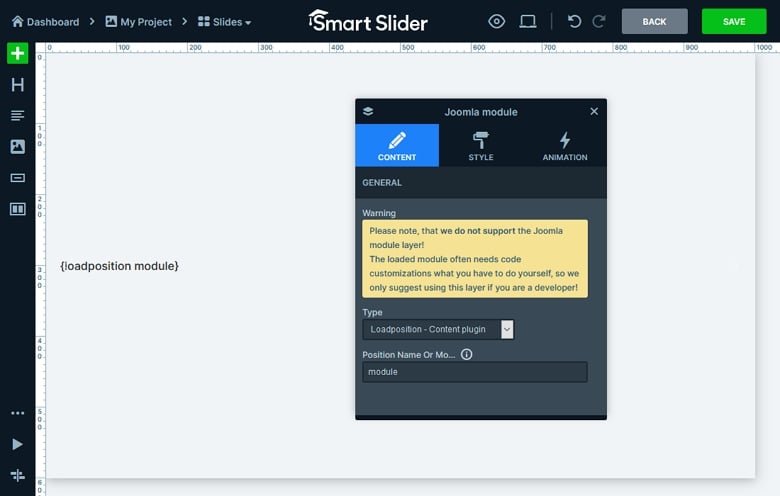
Joomla module layer has been created for Joomla developers. With this layer you can put a Joomla module into your slider.
You can insert a Joomla module to your slider
We don’t suggest this layer unless you are a developer because in most cases you need to code, there can be problems with the CSS, and we don’t have control over the module responsivity. The behaviour of the module can also be different from the sliders as well, so you should take care of that too.
HTML layer – PRO
In Smart Slider 3 you have an option to write your own HTML and CSS code in this layer. I can suggest HTML layer for developers, who want more functionality in the slider. With this ultimate layer you can create for example contact forms, amazing CSS animations or animated separators, which can make your slider more powerful.
Progress bars and counters are becoming more popular in web design and these are not only impressive but informative as well. In Smart Slider 3 you can use these kinds of layers, and people love them.
Progress bar – PRO
The Progress bar is a great graphical tool to display some information within your slider. You can highlight processes, and every customization option is available to create your own progress bar on your site. Progress bar
You can add custom prefix, postfix, what can be a % or $ or what you want. And you can add a label too. But you can leave them empty if you want to show only your skills. There are 3 kinds of value what you can add: the start, by which the progress will begin, a total value, and a value, where the process should stay. Of course you can customize everything, change the colors, font families and sizes too.
Counter layer – PRO
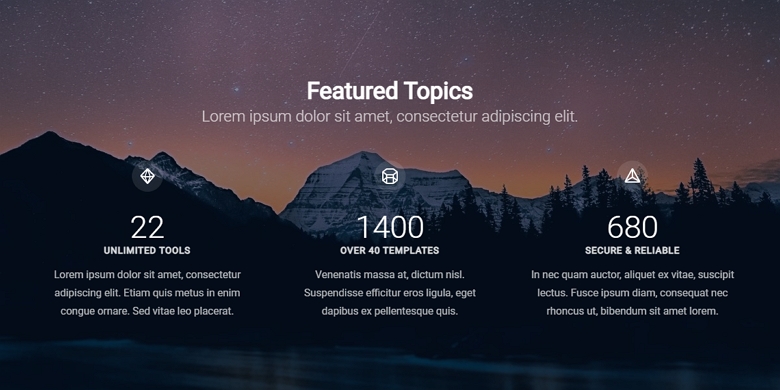
You can encounter a lot of websites using counters. Usually people use counters to display a number, for example number of downloads, satisfied customers or sales.
Counter layer
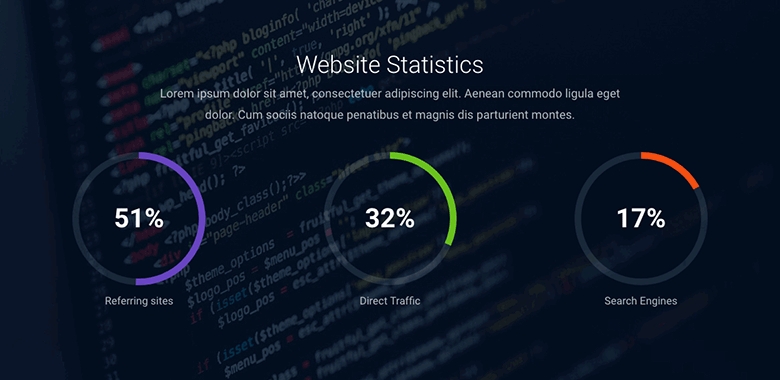
Circle counter layer – PRO
With circle counter layers you can display similar results as with the progress bar, right around the counter. And every customization option is available here as well, so easy to create a nice circle counter for your site.
Circle Counter layer
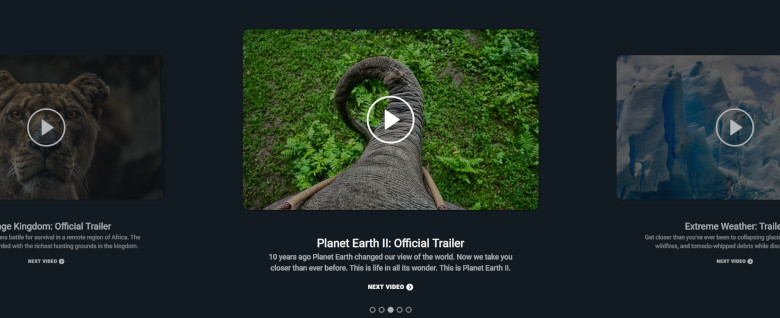
🎬 Media layers
In Smart Slider 3 there are more options to add videos to your slider: with YouTube, Vimeo and Video layer. Each one works the same way, easy to embed a video and you can set covers videos, and controls.
By a video layer you can put an mp4 video into your slider and with a YouTube layer a YouTube hosted video, with a Vimeo layer a Vimeo a video from Vimeo. These layers are very similar, you can autoplay them, set a featured image, turn on the controls. Also you can set the volume, mute the videos, moreover loop them.
Audio layer – PRO
You can encounter videos in a lot of website, but playing sounds isn’t popular yet. In Smart Slider 3 you have an option to use an audio layer which allows you to play mp3 music. You can autoplay it as well and give a unique experience to your visitors.
Audio layer
Final Thoughts
As you can see, Smart Slider 3 is a very complex plugin with a lot of feature, and I wrote only about layers, but there are a lot of other options available like creating a dynamic sliders. With the plugin you can create a live slider which can refresh automatically from the given source such as a Post or Article, Twitter or WooCommerce, and tons of other generators.
What is also super that you can use Smart Slider 3 templates from the Template library which is fully customizable, and you can use the Slide library too. These can make your life easier and can give you ideas for your slider. So if you didn’t use Smart Slider 3 before, give it a go and try it!
I’m Bernadett Toth and I’m a member of Nextend‘s support team. I have two dogs, in my free time I teaching them. Besides that I often ride a bike, watching movies or reading.