It can be difficult trying to compete with other businesses online these days. This is due in part to platforms like WordPress, Joomla, and Magento that have simplified the process of building websites that look like they’re hot off the presses from a professional web designer (even if it’s just a plug-and-play premium theme).

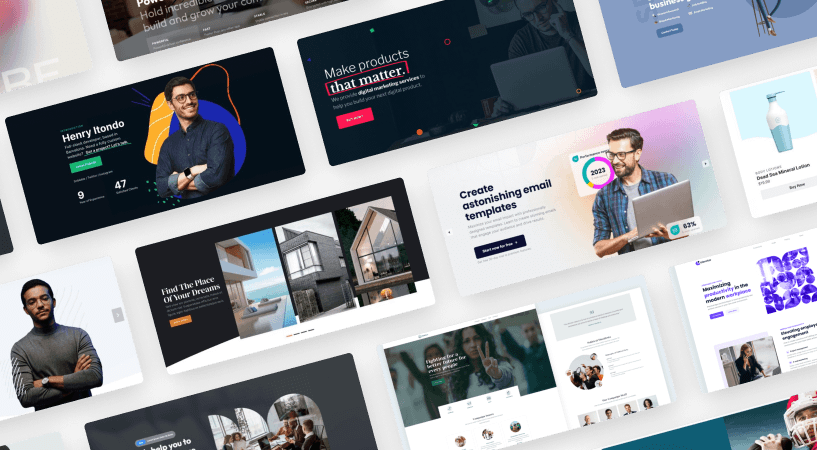
There’s, of course, nothing wrong with having a website that looks great, but bears a resemblance to those of the competition. However, a website needs to make conversions in order to survive, which means beating the competition. So, how do you design a website in a way that makes it stand apart from the sea of lookalikes? One way to do this is by using a professional-grade and responsive content slider.
While a content slider won’t make sense for every website, when used in the right context and executed well, it can have a powerful impact on your audience.
In this ultimate guide to the content slider, we’ll delve a bit deeper into what exactly a content slider is and what it can do for your website. We’ll then discuss how to use the Smart Slider 3 to take your slider capabilities to the next level.
Should your website have a content slider?
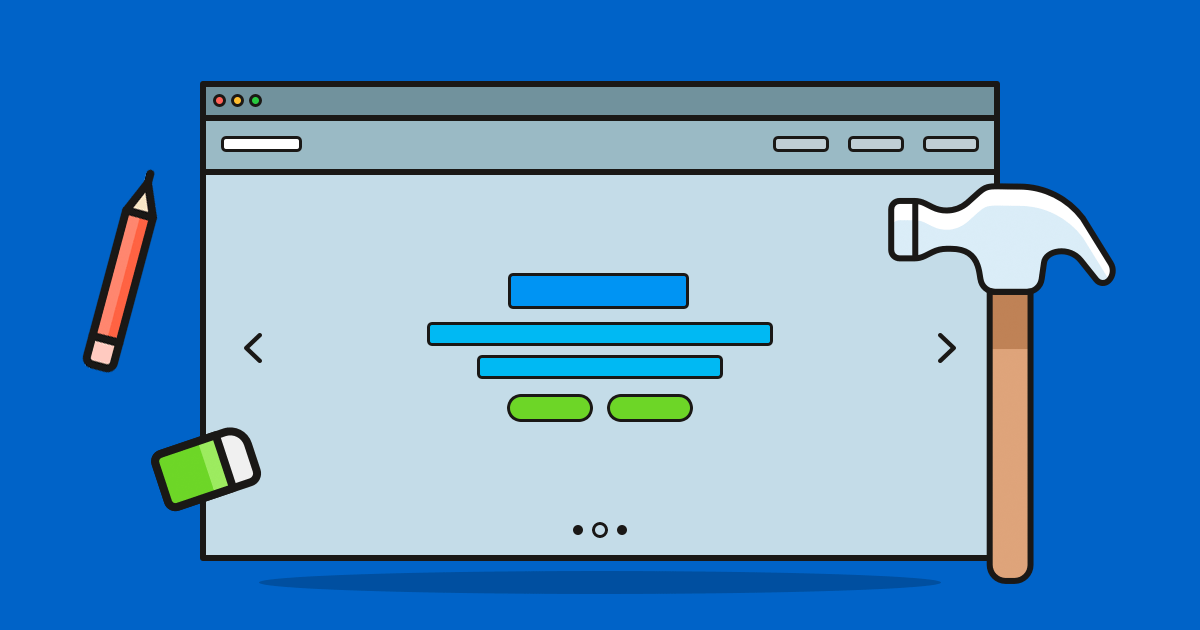
A content slider goes by many names: slider, carousel, slideshow, and so on. Regardless of what you call it, the rotating element works the same way. It fills a designated space on your site–almost always the full (or near-full) width of the page–and it enables your visitors to flip through slides in order to consume various pieces of content at their own pace.
This can be a really helpful addition to your site–not only for you as the designer or developer trying to be smart about how you utilize available real estate, but also for your visitors.
With a content slider, you can…
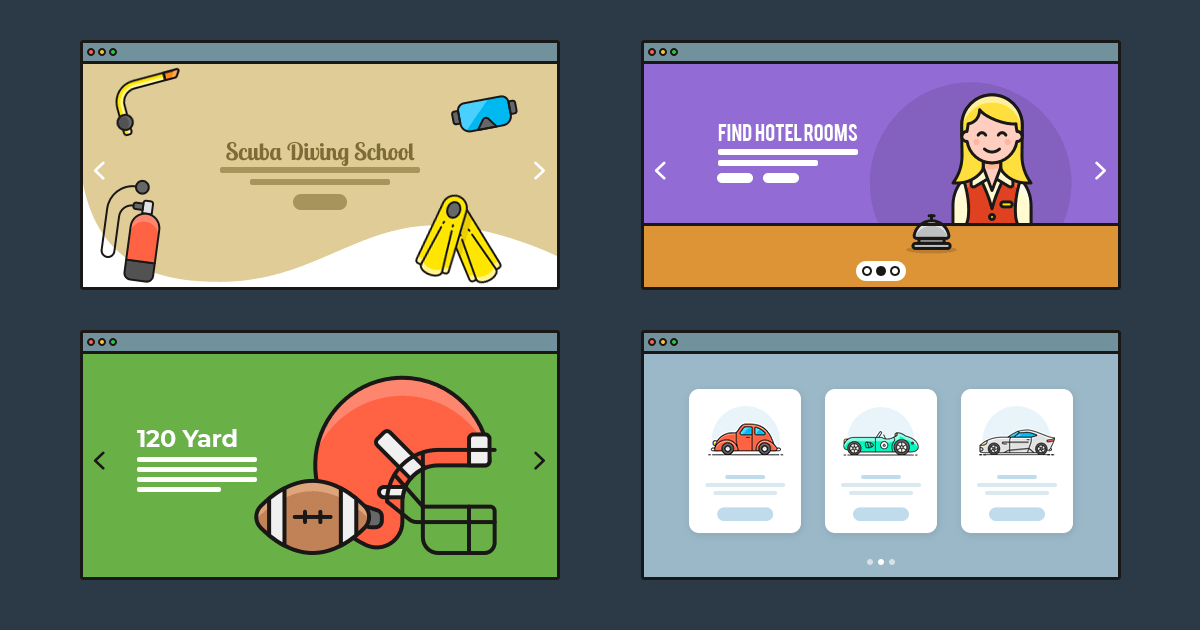
Promote new blog content in a dynamic fashion, keeping the latest posts front.
Advertise the newest products, promotions, or news on the home page.
Provide a highlight reel about what’s happening with your company right now.
Consolidate videos into a single space, so visitors know where to go to watch your collection of stories, tutorials, etc.
Group related images or videos for products, properties, or services, thereby enabling visitors to see different views or uses for them without having to scroll or move to new pages.
Display a creative portfolio in a manner that’s concise, yet still absolutely eye-catching.
Tell a story or provide some other sequential narrative that users will feel compelled to click through and follow.
Share textual snippets, whether they be a collection of testimonials, statistics about your business, or inspirational quotes from recent stories or interviews you published.
So long as you use a slider for the right reasons and positively contribute to the user experience by helping your audience ingest content more quickly and conveniently, a content slider will be a great addition to your website. In sum, these are just some of the benefits generally associated with the proper use of a content slider:
- Minimalism: When you have related content or media, consolidating them into a slider could help you clean up your site’s design.
- Usability: There’s also the effect this has on your users’ ability to skim through content. Rather than force them to scroll or visit multiple pages, it’s all now in one convenient location and within a tool they can control the pace of.
- Aesthetics: Sliders give you the opportunity to show off; it doesn’t matter if you’re highlighting written or visual content. Sliders just make it look good.
- Engagement: Even if you don’t set the content slider to autoplay, the moment your visitors hover over the space and see the directional cues, this will trigger them to engage with the slider in order to view more.
- SEO: Because a slider requires users to move through more slides in order to discover new content, this increases the amount of time they spend on your pages; thus, leading to improved SEO.
As you can see, there is a lot you can accomplish by adding a content slider to your website. Now, let’s focus on how to actually do this.
How to build a content slider on your website with Smart Slider 3
Now, of course, the content that appears on your slider plays a critical role here, too. It’s not enough to just decide that a sliding element would look cool on your homepage or to host your portfolio of images. You have to figure out what kind of content to include on your slider.
Didn’t think that was possible or even an option? If you’re using the Smart Slider 3 plugin, you can build anything with the available layers, slider types, background animations, and other features.
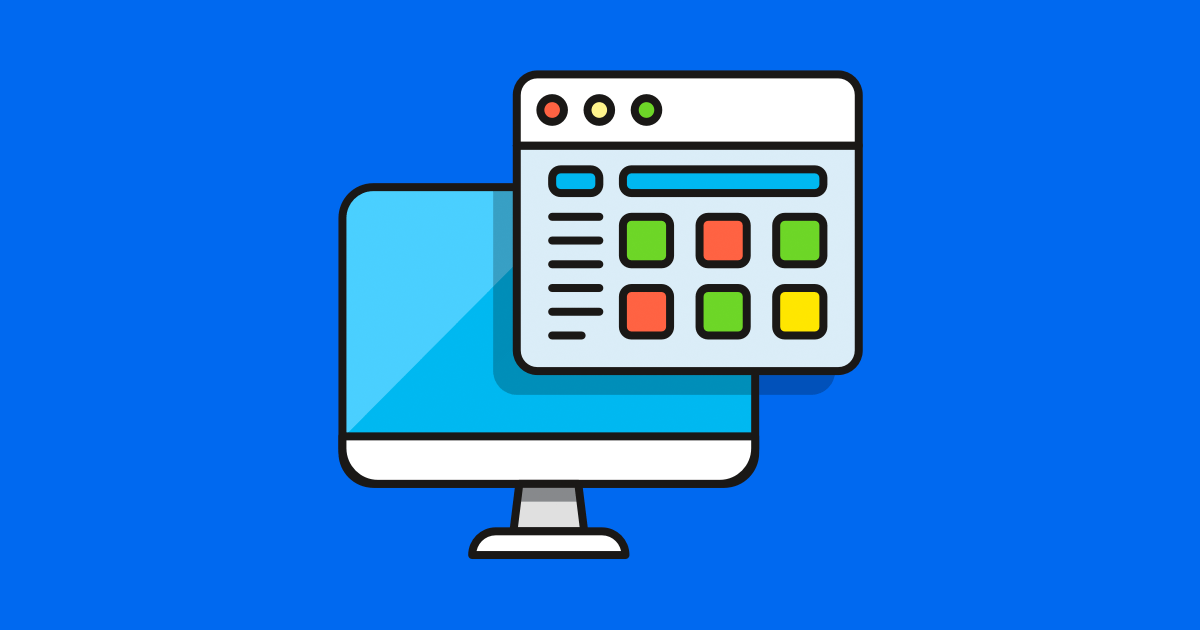
So, let’s talk about the different types of content you can add to your slider while taking a closer look at how to add them with the Smart Slider 3 plugin. To add a new content layer to your slide, click on the green plus sign in the top-left corner:
Choose your content type
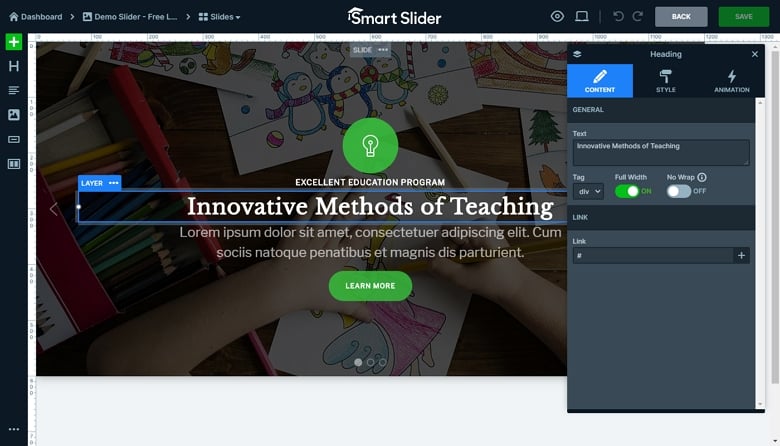
Heading Layer
A heading layer is especially important for content slides as structured text tell readers how to prioritize the reading of it. In other words, larger heading type should be read first as it usually encapsulates what the slide is about. With this layer, you can adjust everything related to the stylization of heading text including: The message, font family, font size, alignment, font color, background color, opacity, animation, hyperlinked text and more.
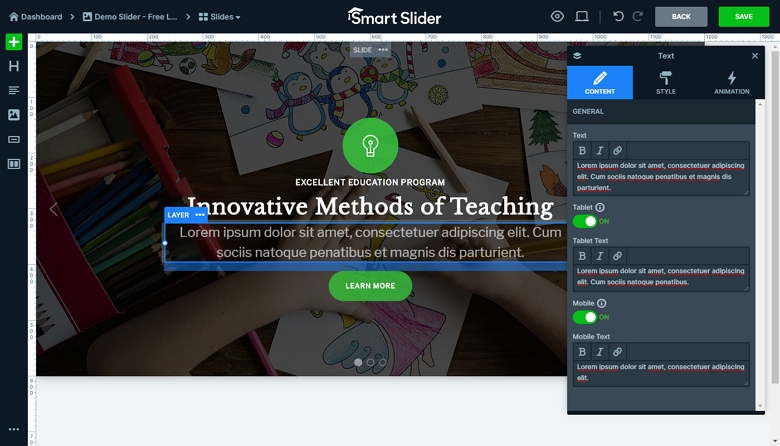
Text Layer
The text layer comes next. The header introduces the title or a succinct summary of the slide and the text will provide a deeper description. With this layer, you have the same controls as you do with the header layer. The main difference is in how you choose to present the text on different devices and screen sizes.
Button Layer
For some slider designs, you might not need button (or call-to-action) elements. This is only there if you want to give visitors something to click through to. So, if you’re using your slider to promote a product, service, or want to educate them on something, this is a good opportunity to add a button that directs them to the next steps and convert.
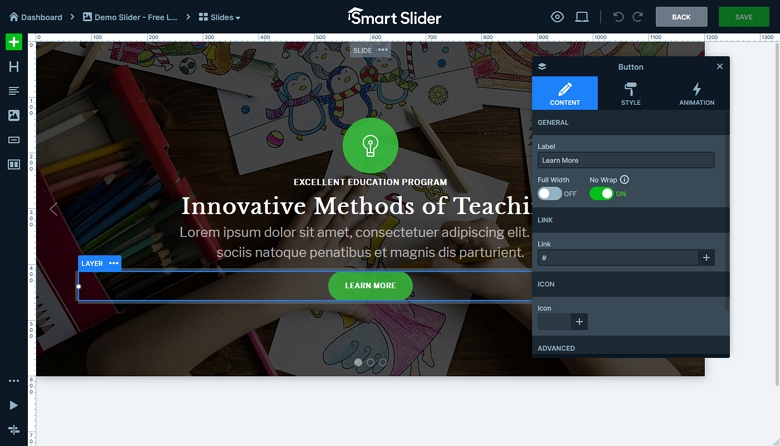
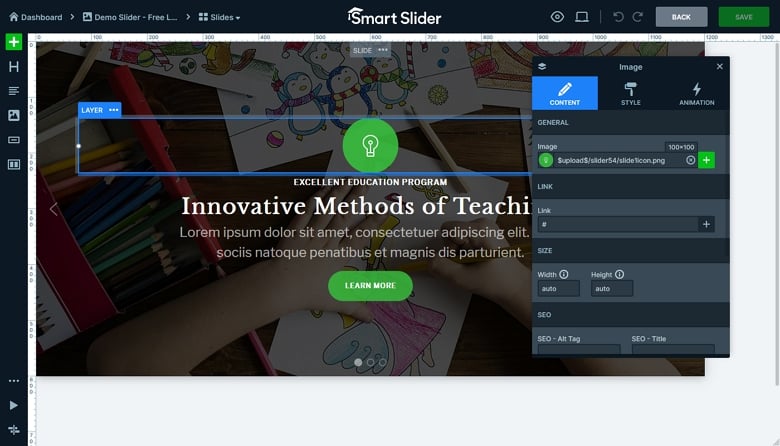
Image Layer
If you’re not using a full-width image or video background for your slides, you can populate it with partial image content instead. Simply upload the photo you want to use and drag it into your slide. Image content can sit beside, atop, below, and in the middle of your text content. It’s up to you how you want to arrange your slides.
Caption Layer
Not every image-based slide will look good with or even make sense to use an overlay of text. Instead, if you want to provide some sort of reference to visitors about the content found on the slide, but don’t want to intrude on the experience, you can add the caption layer.
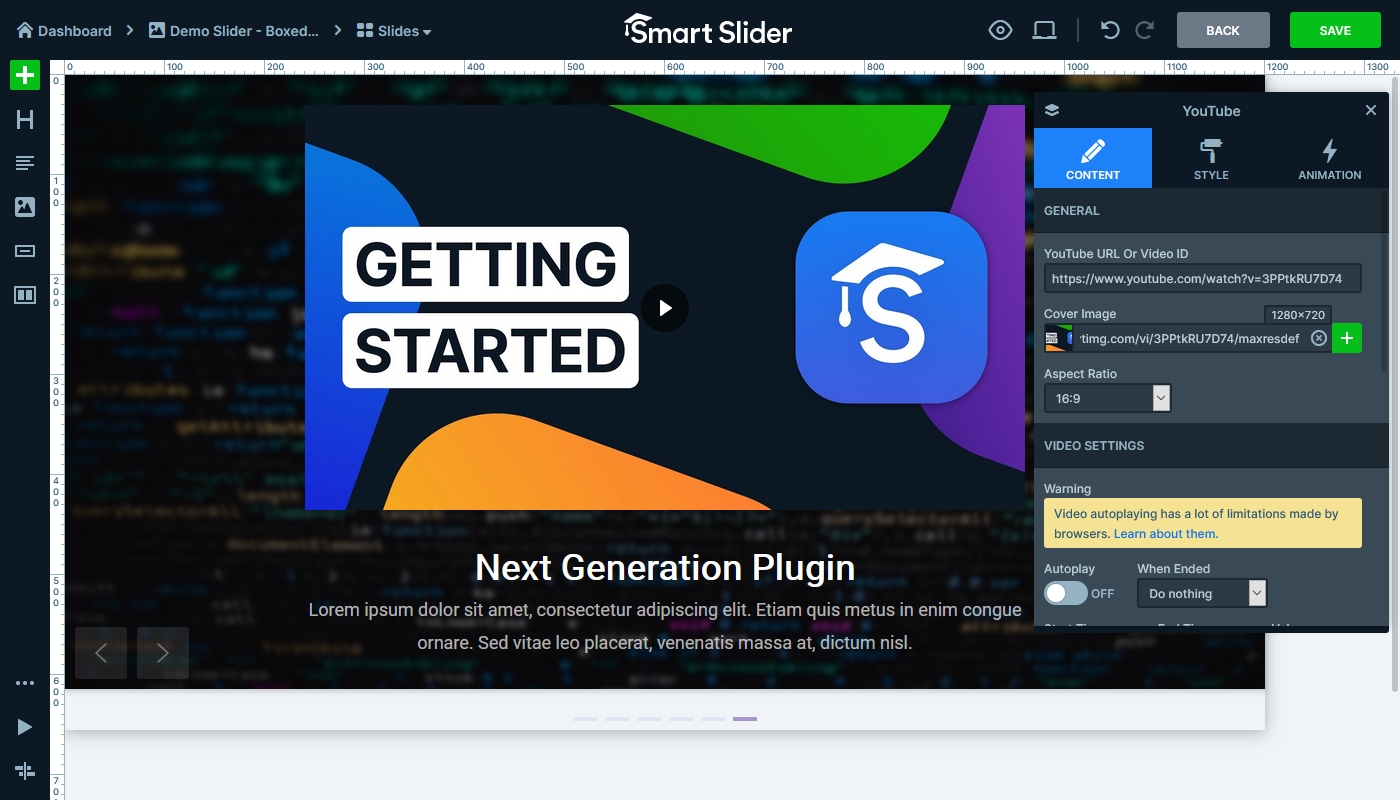
YouTube, Vimeo and Video Layer
There are a few different options for adding video content to your slides: YouTube, Vimeo, and Video. Each of these simplify the process of embedding video content from another source, even giving you the option to upload your own cover image to ensure the screengrab that shows is relevant and looks good.
In addition, there’s also an Audio layer option available in Smart Slider 3, in case you want to share a podcast or soundbyte on your slide.
Icon Layer
Icons are a perfectly succinct element which, at the same time, convey a lot of information to your visitors. Usually, these aren’t used in isolation unless you add an icon to your CTA button. Instead, you’ll find groupings of icons that are representative for a number of different services or products on a company website. With hundreds of Font Awesome icons to choose from with Smart Slider 3, you should find exactly what you’re looking for.
List Layer
The list layer feature will come in handy when writing corresponding product descriptions or if you’re creating on-site slideshows to share with your visitors. It’s simple to use too: just input your list items, choose the bulletpoint style, and then apply the text settings as you would in the other text layers.
Progress Bar
The Progress Bar is an excellent way to graphically display information within a slide. It’s perfect for highlighting the skills your team members possess, how many cups of coffee everyone drank last month, or some other fun tidbit you want to relay to your visitors.

In addition to adding the right type of content to your slider, keep in mind the following best practices when designing it:
- Make it responsive: Most sliders simply downscale the content. However, Smart Slider 3 has a Default layers, which recognizes the available space and adjusts accordingly.
- Place the most important content on the first slider or two: Studies have found those are the ones that get the most views and clicks, so don’t make your visitors wait for the good stuff.
- Optimize for search: In addition to using a plugin that makes your slider seamlessly blend with the rest of your site’s design, you need one that helps your SEO. Smart Slider 3 includes all HTML tags and attributes in order to make your sliders search-friendly.
- Set slide durations that aren’t too fast or too slow: And always remember to give your users some way to control the speed on their own if the presets aren’t to their liking.
- Remember that your audience, marketers, and even some developers have a love-hate relationship with sliders: If you want to stay in their good graces, ensure that your sliders only include high-quality, valuable, and relevant content.