Beaver Builder is often referred to as the best page builder plugin for WordPress and after checking it out, it’s hard not to agree. With a popular free plugin that’s been actively installed on over 400,000 websites, as well as the powerful premium version, Beaver Builder is a visual editor for WordPress that can really help you create unique content designs for your website.
Although Beaver Builder is packed with useful features, there are still some areas where it can be enhanced by using it alongside a specialist plugin. Creating slideshows is one example of this, and in this guide to using Smart Slider 3 and Beaver Builder 2, we’ll explore how you can add even better slideshows to your website with Beaver Builder and Smart Slider 3.
What Makes Beaver Builder 2 so Great?
Beaver Builder 2 picks up where the first version of this plugin left off and adds even more great features and an improved user interface to the mix.
You still get access to the same great selection of customizable modules, including buttons, callouts, counters, pricing tables, testimonials, and more. However, now the workflow for using those modules is much improved. The same can be said for the page templates. The impressive library of designs can now be edited with even greater ease, thanks to the recent updates to Beaver Builder.
Being able to drag and drop items around the page, then click on an element to start editing, makes Beaver Builder a highly recommended WYSIWYG content editor for WordPress. And as we’re about to see, thanks to the support for third-party plugins, the Beaver Builder slider options just got a whole lot better.
Creating Beaver Builder Sliders
The free version of Beaver Builder is definitely a good option for upgrading the WordPress editor for those on a budget. However, the limited module selection and lack of page templates make upgrading to the premium version highly recommended.
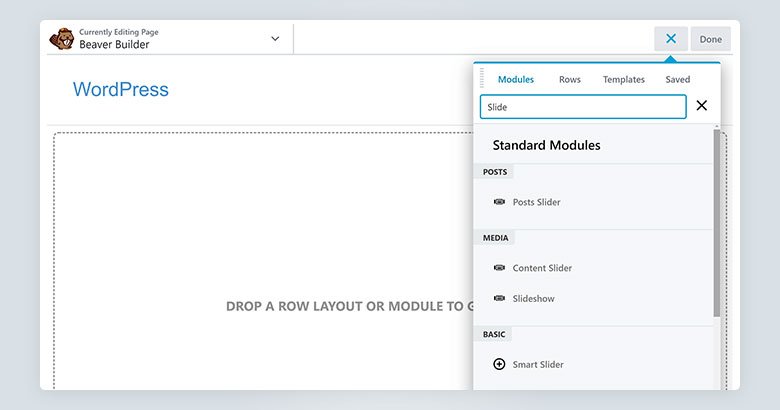
If you do upgrade, you’ll be able to create basic content sliders, slideshows, and post sliders for your WordPress website. Once you’ve dragged one of the slider modules onto your page design, you can then define its display properties.
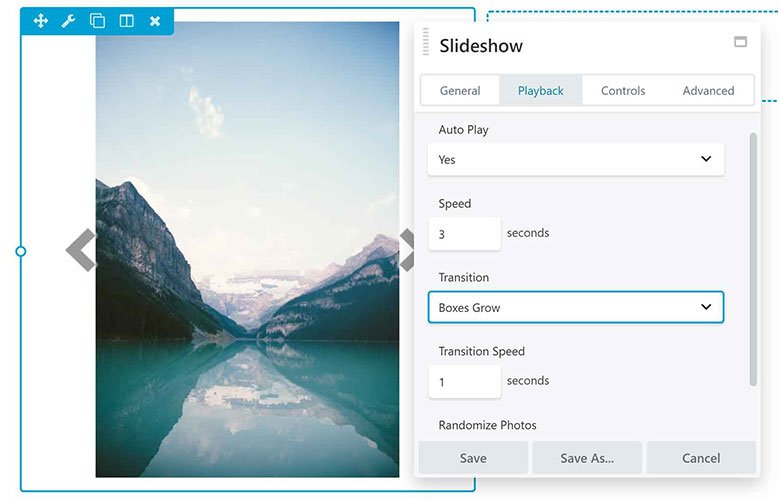
The Beaver Builder slider modules definitely give you the ability to create your own custom slideshows for display anywhere on your site. The settings let you choose the transition effects, playback speed, cropping options and much more, helping you ensure your slideshow looks and behaves in the way that you want.
You can also create content sliders that can combine text, photos, and videos to help you present a custom message to your audience. The mobile controls make it easy to selectively hide or display slider elements depending on the device they’re being viewed on.
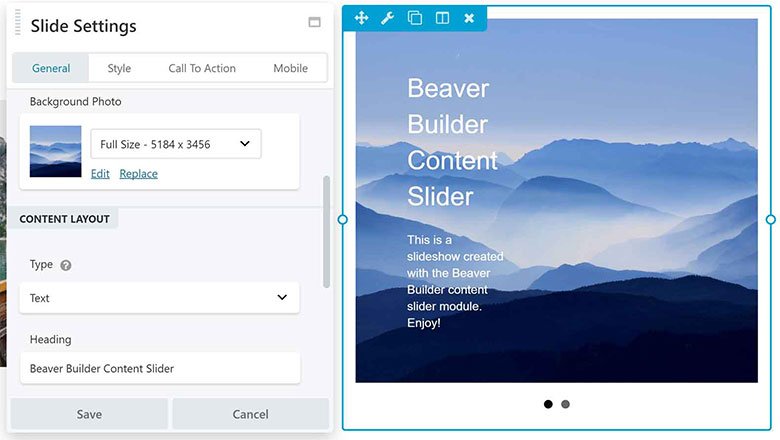
However, as well as these Beaver Builder sliders, you also have the option of installing a third-party slideshow plugin like Smart Slider 3 on your site. As long as you’re using a slideshow plugin that’s compatible with Beaver Builder any sliders you create can be added to your custom page designs.
Using Beaver Builder and Smart Slider 3 Together
If you do want to start incorporating more creative sliders into your Beaver Builder page designs, then the process is very straightforward. One option is to install the Smart Slider 3 free plugin on your WordPress website.
By using the advanced features of Smart Slider 3, you can create slides with multiple layers, add layer animations to your slides, and import any of the pre-built templates from the slideshow library. Once you’ve created a slider with this tool publishing it is easy. Just open the page you’d like to add it to in Beaver Builder.
After opening the page for editing and then revealing the sidebar panel, you can drag and drop the Smart Slider element onto the page. Once you’ve done that, you’ll be able to choose which slider to insert into your custom page layout.
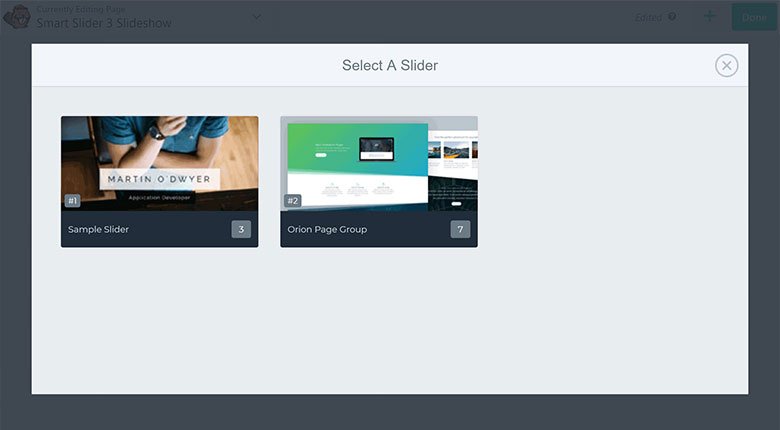
Now the slider you’ve chosen will be added to your page. Thanks to the integration between these two plugins, the properties of your Beaver Builder slider from Smart Slider 3 can be customized through the page builder settings panel. This includes controlling the position of the slider, settings its visibility status when being viewed on mobile devices, and more.
Depending on the type of slider you created, it could be a full-screen slideshow or a smaller part of your overall page design.

