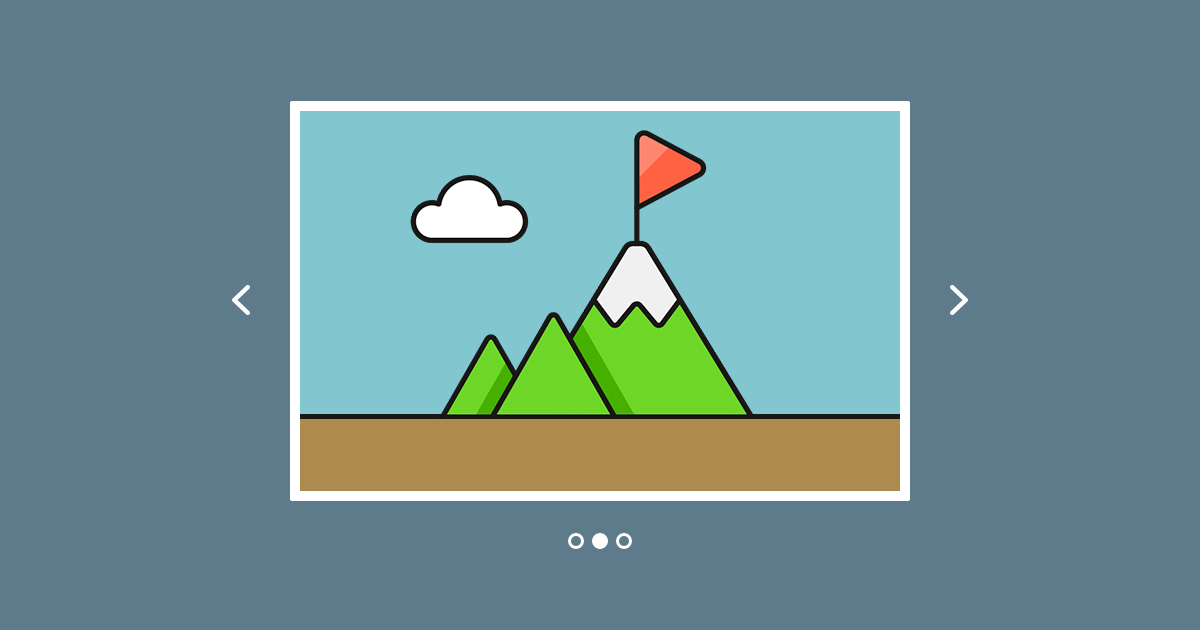
People love showing and seeing images on websites. That’s why there are many image slider plugins, as they make it easy for everyone to add images to their site. With this in mind, it’s not surprising that many people think about sliding images when they hear about sliders. Sliders allow creating beautiful image effects on websites. For this reason, people love sliders and demand to have them. As a result, it’s hard to find any theme that doesn’t have some sort of slider.
In this article, I’ll teach you all you need to know about having gorgeous slider images. We’re going to explore how Smart Slider 3, the best rated slider plugin helps you add images to your slider. Feel confident that this article will be interesting for you, whether you use the pro or the free version.
How do you choose the best slider images?
A beautiful image has a huge impact on the visitor. For this reason, it matters a lot what kind of images you use in your image carousel. Here’s the 6 most essential points you need to keep in mind when you add images to your slider:
Use high quality images, which are not pixelated. While this might seem trivial, this is the most essential criterion of the good slider images. Bad quality images tell the visitor that your site is unprofessional and isn’t worth their time.
Make sure the images match the website’s topic. Although everyone loves cute puppies, they aren’t a good choice for a law company website. Unless, of course, the company works with the puppies.
Don’t use images with watermark. If the watermark is yours, it’s fine. Otherwise, watermark from sites like Shutterstock makes your site look unprofessional. As a result, you’ll lose the trust of your visitors.
Choose images which have proper resolution. Good slider images are exactly as big as the slider they’re in. Don’t try to put a 3000px wide image to a slider that’s only 1200px wide. Similarly, don’t put small images to your wide slider either.
Optimize for websites. Use jpg images, if you can and avoid png images, because jpgs load faster. A good slider image weight is 500kb maximum.
Don’t use too many images. Unless you create a gallery, don’t put more than 5 images to your slider. A homepage slider with many images can frighten your visitors. As a result, you’ll lose them, even if your slider is full of cool transition effects.
If you don’t have the resources to create your own images, you can get great images from many online sources. We recommend the following websites: Unsplash, Pixabay, Pexels.
The new way to build a Slider
Next generation visual editor, customizable animations & effects, and access to hundreads of premade templates.
Smart Slider 3 fits perfectly to your WordPress powered site. As a result, you can add images to your slider from the WordPress Media Library. Each slide you create has its own background image. This lets you create amazing transition effects when the slide switches. By picking a different image for each slide, the slides can tell different stories.
With Smart Slider 3, you can not only set a background for each slide, but to the slider as well. A slider background image is behind all slides in the slider, which means it won’t change when the slide does. As a result, the image stays static in the background, while the other slides move on top of it. You can find the option at Slider settings → General tab, below Simple slider type – Settings. That’s how the result will look:
How does the slider decide on the way it displays the images?
When you set a background image on your computer, you can choose how it fits to the screen. Smart Slider 3 does the same with the slide background fill modes. The background fill mode of the image tells the slider how it should display the picture. For example, the slider might crop the image to make it cover the whole slider.
To avoid cropping problems, make sure that your slider and image sizes match. Of course, if you create a full screen slider, the images will be cropped on certain resolutions.
Get on board! Join our 142,416 subscribers!
Get our latest news, tutorials, guides, tips & deals delivered to your inbox.
No spam. No charge. Just curated emails.
Slider image fill modes explained
Smart Slider 3 has 6 available fill modes, which you can set for each slide in the slider. Of course, you can change it for each particular slide as well. Let’s see how each mode works!
Fill: This is the default mode for the slider. It crops the image, if needed, to make it cover the whole slider.
Fit: This mode displays the full image without cropping. The parts where the image can’t reach the slider remain empty.
Blur fit: Like fit mode, blur fit doesn’t crop the image. Unlike the fit mode, blur fit does not leave empty space in the slider. As a matter of fact, it fills them with the blurred version of the original image.
Stretch: This mode makes the images cover the slider without cropping them. As a result, the images often end up distorted. Use with caution!
Center: Despite the popular belief, this mode won’t make the slider centered. It simply puts the background image in its original size to the background. As a result, this fill mode loses its responsive behavior.
Here’s a video where you can see an example for every mode. I grabbed this image from Pixabay and chose 1280x720px size. After that, I created a new slider which has 1200x500px size. To illustrate the tile mode better, I used 640x360px image at its slide. In the video, I’ll show how each mode handles the image in the preview’s default desktop, tablet and mobile view.
Mobile and tablet optimization: create optimized images
In the Pro version of Smart Slider 3 you can convert your background and layer images to WebP format and generate small version of your images for smaller screens. As a result your mobile visitors won’t have to load an 1920px wide image for their small screens, but you can make them load, for example, a 500px wide image instead. To resize your images go to Slider settings → Optimize tab and enable Convert to WebP then Resize.
Other background types in Smart Slider 3
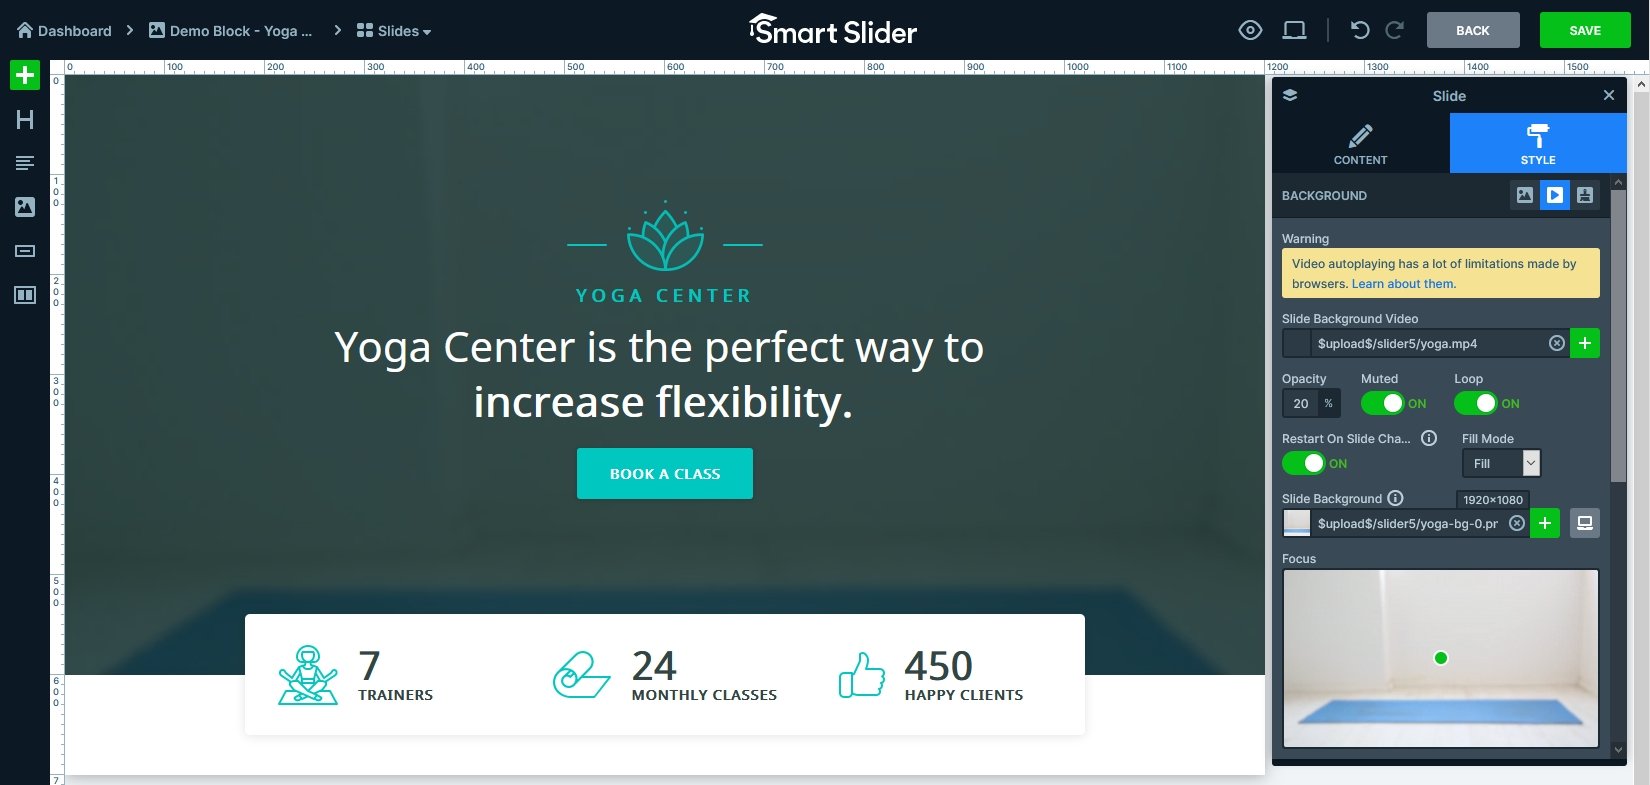
Smart Slider 3 is a versatile slider plugin that allows you to create content rich sliders. That is why you aren’t limited to add nothing else but images to your slider. As a matter of fact, Smart Slider 3 Pro lets you set a slide background video instead. You can select an MP4 video from your WordPress Media Library. If the video is in an external source, you can just copy the URL to the video field.
Available slide background types and their options in Smart Slider 3
Depending on what you want to create, it can make sense not to use any background image or video. In that case, you can select a simple color as background. By not choosing a background image, you can move the focus towards the content of the slide. This is useful, for instance, when you create hero sliders. The best part about background colors is that they’re available in the free version of Smart Slider 3 as well.
How to create a background overlay?
The overlay is useful to increase contrast between the text and the background. To create an overlay, first pick a background color. After that, lower the opacity of the image or video. As a result, you’ll see the color in the background, and the semi-transparent image or video above it.
If you need the image to be crystal clear with zero transparency, there’s another approach you can try. First, pick a background color and adjust its opacity. Second, turn on the Overlay option right next to it. This makes the color appear on top of the image or video, instead of being under it. In other words, the image or video will be in the background, and the semi-transparent color above it.
Conclusion
The best slider images are the ones that match your brand and make you look professional. That’s why you need to carefully select them for your beautiful sliders. You don’t always need background images though. Instead of an image, feel free to use a video background, as it can help a lot to strengthen your message.
Hi, I’m Ramona and I’m a member of Nextend‘s awesome support team. You’ve probably chat with me if you’ve submit a support ticket. When I’m not answering support emails I read a book or go cycling. I enjoy writing as well, both for our blog and for my private projects.