We know how tough it is to stand out from the crowd. For this reason, it’s our goal to always add new, stunning features to Smart Slider. These new additions can help you create amazing sliders with spectacular effects. Recently we have brought you the Morph and Distortion animations. Today we’re excited to announce another new feature. Starting from 3.5.1.1 you can create a Before After slider with Smart Slider Pro.
What is the Before After layer?
The Before After layer is a simple and effective way to show two images in the sample place. Think of it like having the two images below one another. You can select which one you want to see by dragging a line shaped separator tool on top of the pictures. The first image displays completely when the separator is at the right side. Similarly, the second image displays when the separator is at the left side.
What’s the purpose of the Before After slider?
The before after slider is the perfect tool to create a visual comparison. For this reason, there are many cases when you can use this effect. A photographer can use a before and after slider to display their skills. For example, they can show how well they have colored a black and white photo.
Another typical use case is to show off two stages of a transformation. For instance, when someone changes their hairstyle they can use a before and after photo to show it. Another use case is to demonstrate the results of a new diet or workout routine.
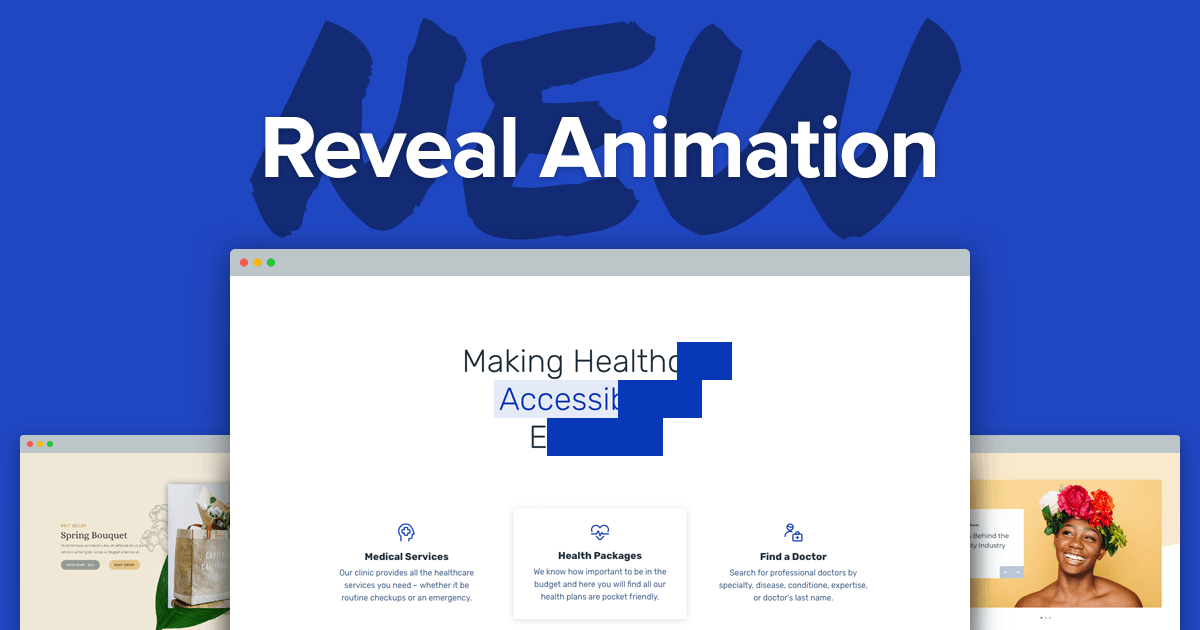
The Before after layer has arrived at Smart Slider!
We’re excited to announce the release of the stunning Before After layer! With the 3.5.1.1 update, the new Before After layer is available for the Pro users. This layer allows you to create gorgeous before and after image sliders. Simply add a new Before After layer, select your images and your effect is ready. It’s important to note that you can create a Before After slider using a layer. The Before After images were meant to be part of the content, so they can’t be the backgrounds of a slide. As a result, the Before After layer works with all slider types.
Why should you use a Before After slider? Well, it’s super versatile, so you can use it to achieve many things. You can, obviously, display two images to compare them. You can also add labels to each image and a caption to describe what the layer is about. Additionally, you can choose whether you want a horizontal or vertical comparison.
Before After slider examples
Every new Smart Slider feature comes with inspiring example sliders. There’s no difference with the Before after layer either. To show the strength of the new effects and to inspire you, we’ve created not one, but 4 slider templates. Let’s see a quick overview about them.
Product Compare
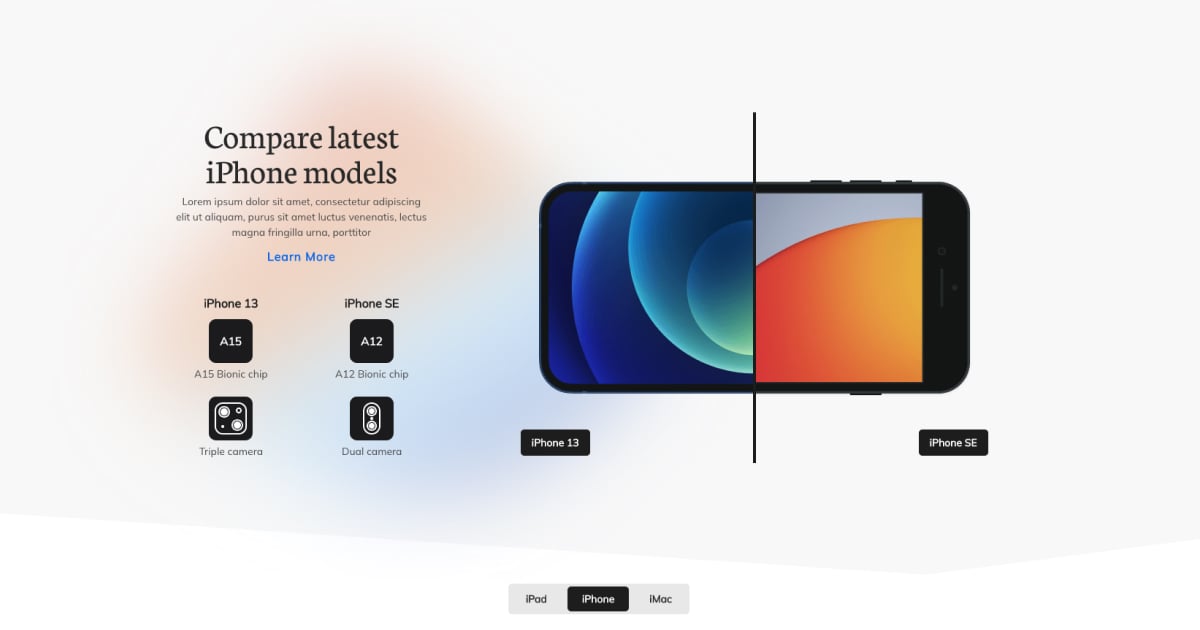
Although it’s called Before after slider, you can use it for much more than just to show before and after images. In fact, you can use it for product comparison as well. For example, if you sell clothing you can use a Before After layer to show two color variations of the same product.
Diet Block

A Before After slider is perfect to display transformation. One of the most typical cases of such transformation is to show the results of a new diet or workout routine. Using the Before After layer you can easily show such transformations on your site.
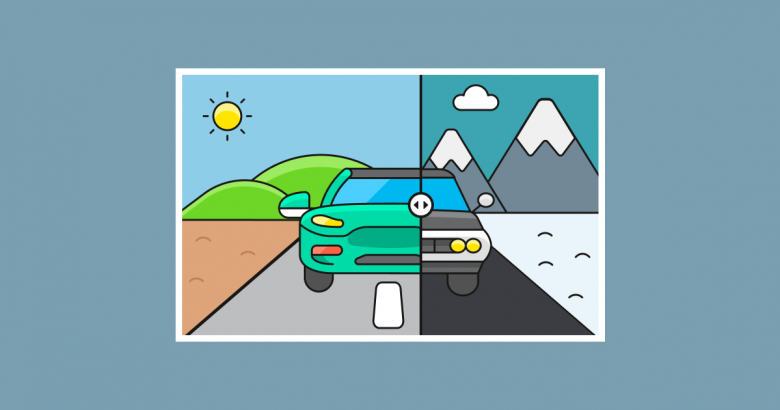
Photo Compare
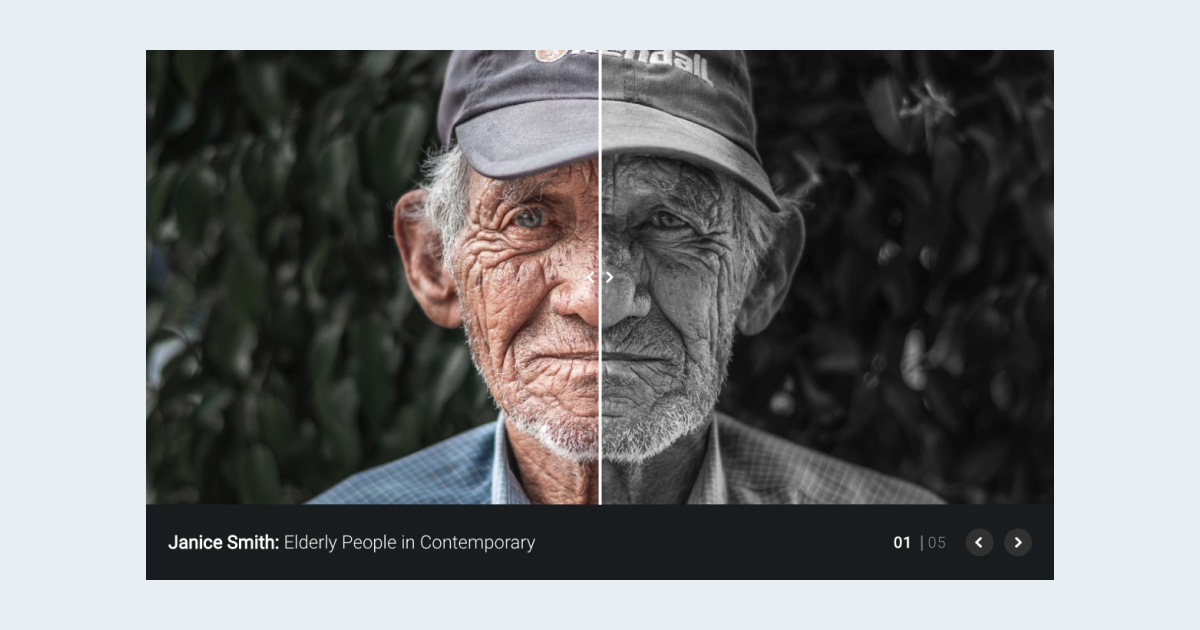
The Photo Compare template is a great way for a photographer to allow visitors to compare the pictures they took. At this template we used monochrome and colored images, but you can use anything else you’d like. For example, compare shots you took at different times of a day, like a sunset or sundown photo.
Renovation
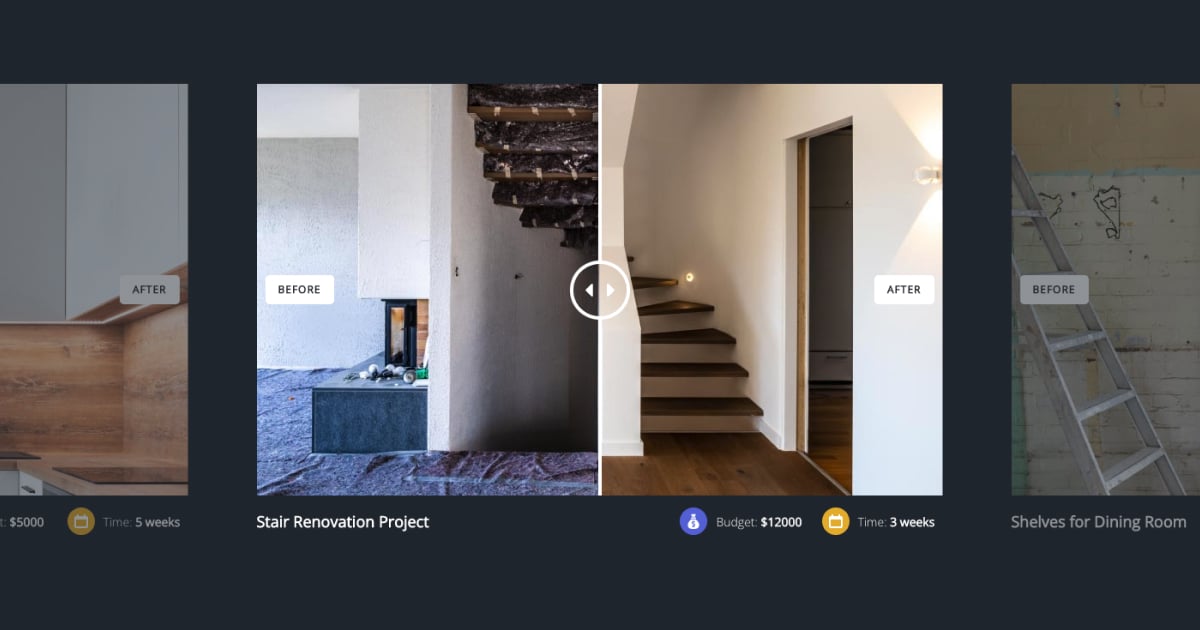
The Renovation slider is a bit closer to the traditional way people think of the Before After slider. It displays two stages of the renovation. The starting stage, before the renovation happened, and the finished result.
Conclusion
Not a long time has passed since we brought you the Morph and Distortion animations. Now we have brought you another amazing feature, the Before After layer. It’s another great addition to Smart Slider Pro. You can use it to create stunning sliders you could never create before. When will you start creating Before After sliders?