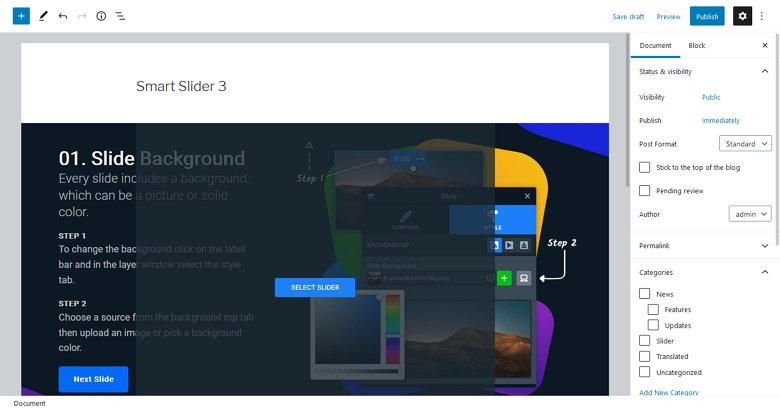
If you want to know how to add a WordPress gallery slider to your website or blog, you’ve come to the right place. In this guide, we’ll demonstrate how to quickly create a slider that displays images from your WordPress Media Library and then insert the slider into your blog posts and pages. We’ll then go on to explore a more powerful and creative plugin for adding even better WordPress gallery sliders to your website, all without the need to invest a penny.
But before we get started, let’s quickly define what a WordPress gallery slider is.
What is a WordPress Gallery Slider?
Typically, a WordPress gallery slider will allow you to display multiple images in a slideshow format. Instead of just inserting photographs or other images to a blog post or page, you can create a slider, add it to your content, and then let your visitors click or swipe through the slides.

Not only does this save space on your page, but it also makes it very convenient for your visitors to view your content. It also makes it easy for you to organize your images and other content in the way that you want. Creating collections of photographs or a sequence of slides that walks the visitors through a presentation or story is a great way to use a WordPress gallery slider.
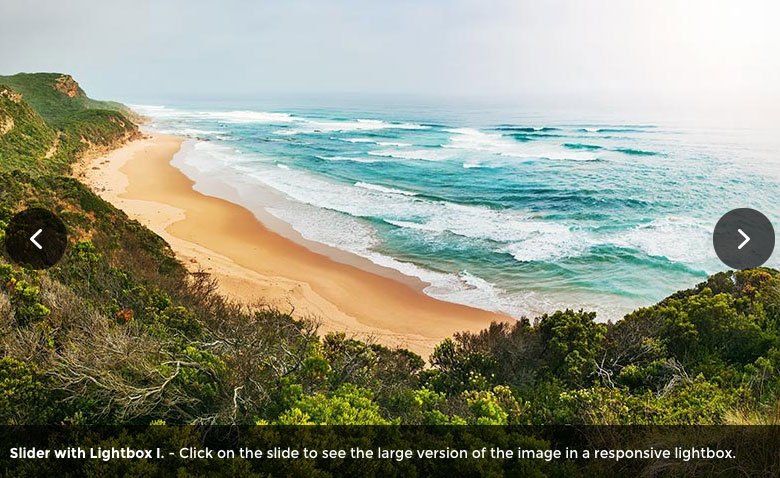
Now that we’ve covered what a WordPress gallery slider is, we’ll look at what type of slideshows a widely used free plugin can create. Then we’ll share a more powerful, yet equally free tool, for adding even more stylish and advanced image gallery sliders to your WordPress website.
How to Create a Basic WordPress Gallery Slider
Although by default WordPress doesn’t have a slider feature, the Jetpack plugin – with its slider module — is regularly included with new WordPress installations. Therefore, using Jetpack is often the standard way to create an image gallery slider for many WordPress website owners.
We’ll see in this guide, there are other more powerful free options available.
Using the Jetpack WordPress Gallery Slider
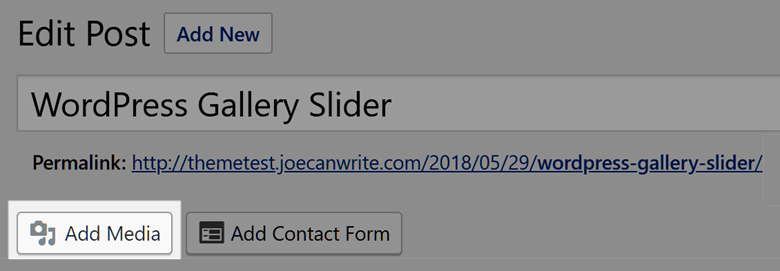
To create a WordPress gallery slider with Jetpack, first check whether the Jetpack plugin is installed and active on your website by logging in to your site’s Dashboard and visiting the Plugins page. If Jetpack isn’t on the list of installed plugins, you can find instructions on how to add this tool to your website here. With Jetpack running on your site, create a new WordPress post or page and click on the Add Media button from the editor toolbar.
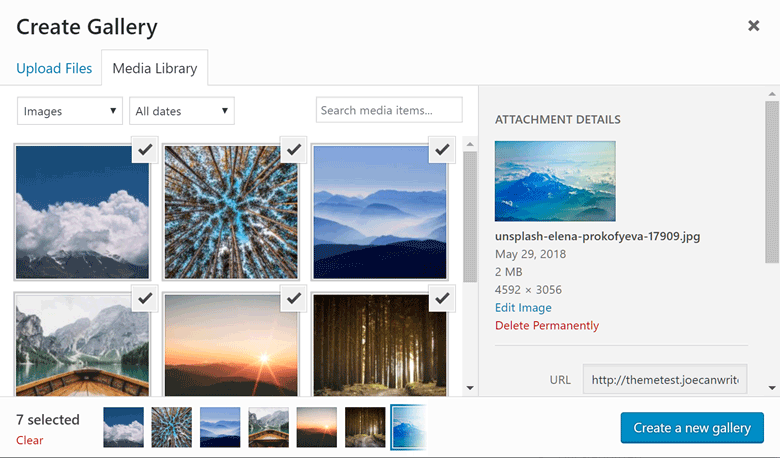
You can then upload the images you want to use in your WordPress gallery slider. Alternatively, you can select images that are already in your Media Library for use in your gallery slider. Once you’ve selected the images for your slider, click on the Create a new gallery button.
From the Edit Gallery screen that’s displayed next, you can choose Slideshow from the Type drop-down menu. After you’ve examined the other settings, you can click on the Insert gallery button.
The image slider should now be added to your to your post or page. To test out your WordPress gallery slideshow, click on the Preview button in the top right-hand corner of the page.

Now, after just a few steps, you should have a basic slideshow that displays the selected images from your WordPress gallery in a post or page on your website or blog.
However, while the Jetpack slider should be enough for creating basic WordPress gallery slideshows, if you want to create truly eye-catching and attention-grabbing sliders, you will have to choose a purpose-built slider plugin. Thankfully, there’s a free option that’s packed with features, while still being very easy to use.
Upgrade Your WordPress Gallery Sliders with Smart Slider 3
Yes, as you might’ve guessed, the recommend WordPress plugin for unlocking the full potential of what slideshows can deliver is our Smart Slider 3 plugin. Although there’s a paid version of Smart Slider 3 available, the free version of this plugin is much more powerful than the Jetpack slider module and many other WordPress slider plugins.
To give you a better idea of what Smart Slider 3 can do, as well as how easy it is to use, here’s a quick guide to creating a WordPress gallery slider with this free slider plugin.
Creating a WordPress Gallery Slider with Smart Slider 3
As the free version of Smart Slider 3 is available from the official WordPress plugin directory, it can be installed from your WordPress site’s dashboard in just a few clicks.

Now with this free plugin active on your site, you can start adding much more creative and stylish WordPress gallery sliders to your website. To get started, simply navigate to the Smart Slider section of your WordPress dashboard by clicking on the appropriate sidebar menu link.
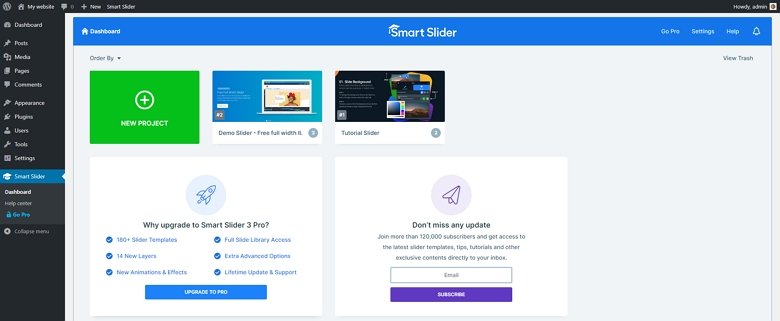
From the Smart Slider dashboard, you can view a tutorial that will help you get started, as well as check out the demo slider. Even those using the free version of Smart Slider 3 get access to some stylish slideshow templates that can be easily adapted for a range of projects.

But if you want to create your own WordPress gallery slider from scratch with this plugin, click on the New Slider icon to take the first step. You can then enter the name of your slider from this screen, as well as choosing the type of slideshow you want to build.
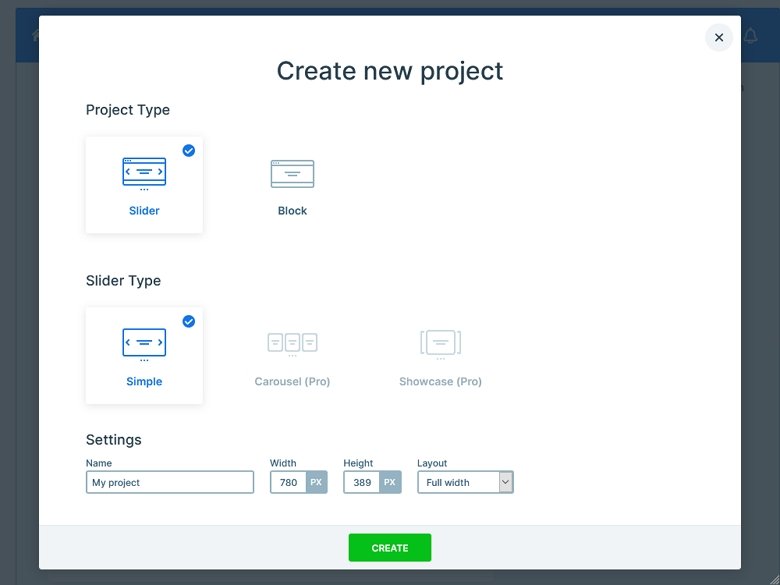
Smart Slider 3 can be used in a number of different ways, but one of the easiest ways to get started is to drag and drop your images on to the dashboard. You can then either preview or publish your slider for use on your WordPress website. That’s it.
However, scrolling down the page reveals the Smart Slider controls. From the control panel, you can easily choose the style of the playback buttons, enable or disable image thumbnails, and configure the optional animation settings.
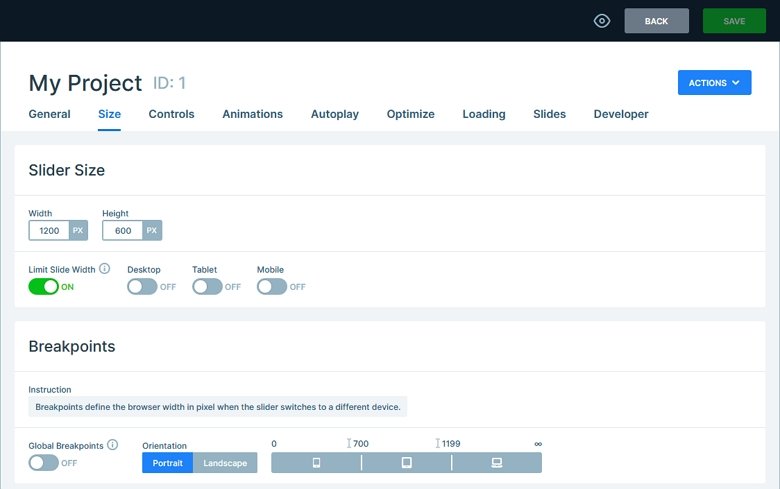
Whether you simply want to drag and drop images onto the slider area and use the default settings or create a personalized slideshow, Smart Slider 3 makes it very straightforward.
Unlike with Jetpack, you can edit the individual slides in your Smart Slider 3 slideshows, defining how long each slide is displayed for, change the slide thumbnail image, and even add layers to your slides that contain text and other content including additional images. Adding clickable buttons to your WordPress gallery slider is straightforward with Smart Slider 3 too.


