If you ever wondered how to give your website some life and make an impression on your visitors, you’ve come to the right place.
Nowadays most websites have changed from static pages to interactive platforms that engage users and create their own stories. Sliders stand out as a strong tool among many, to achieve this. They effortlessly improve the user experience, while also delivering information and showcasing items.
This brings us to Smart Slider 3. It’s more than a simple slider plugin, as it offers a variety of animation and effects, that can make your website stand out. We’ll guide you through the process of creating these interactive effects step-by-step, from slide animations to learning how to animate text on them.
The new way to build a Slider
Next generation visual editor, customizable animations & effects, and access to hundreads of premade templates.
Okay, let’s get things going by introducing you to the amazing world of Smart Slider 3. You can install the plugin now if you haven’t yet done it on your WordPress website. You’ll be stunned by its user-friendly interface and cool features, I promise.
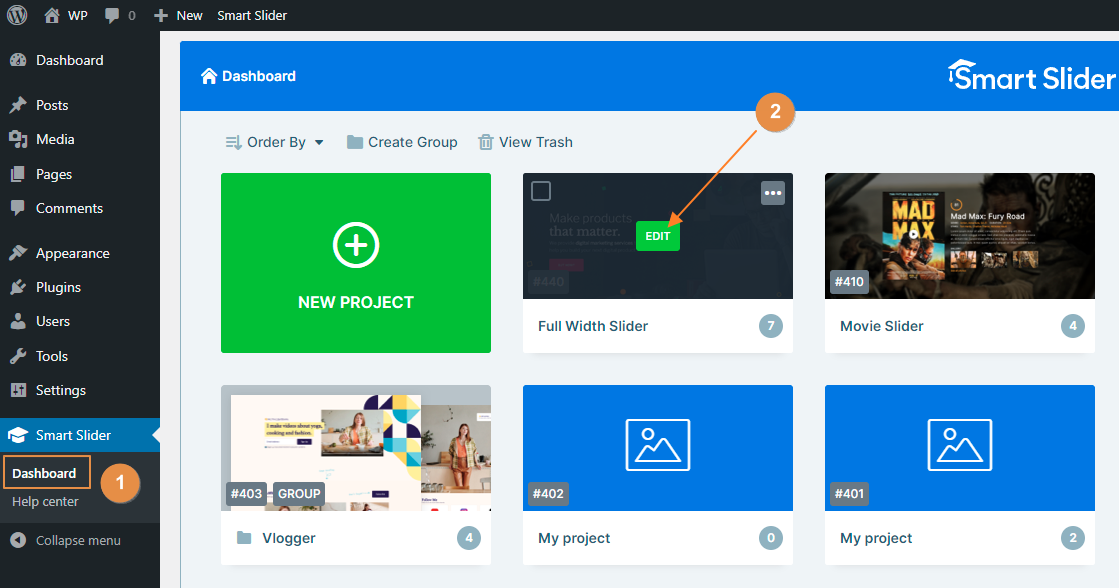
Making your first slider is simple once Smart Slider 3 is up and running. Just follow these easy steps:
1. Making a New Slider:
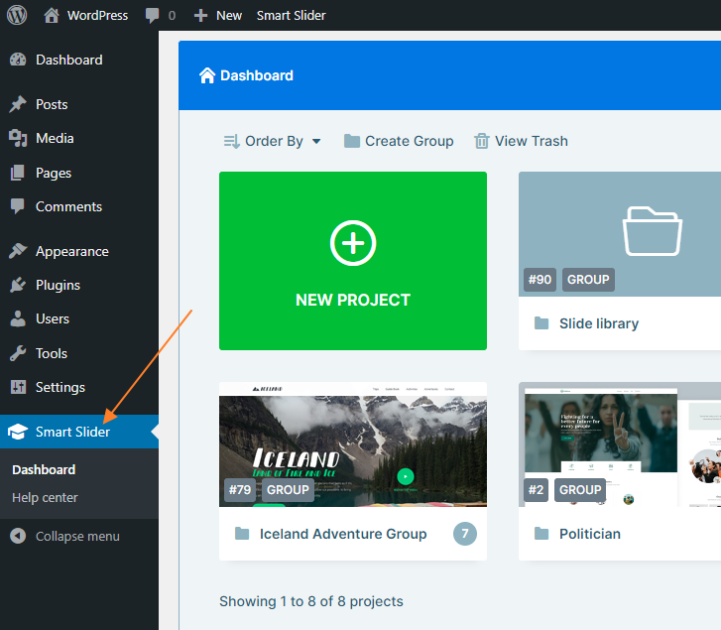
Go to your WordPress dashboard and select “Smart Slider 3” from the menu on the left.
Select the “New Project” button, and voilá a new slider was born.
2. Selecting a Template (Optional):
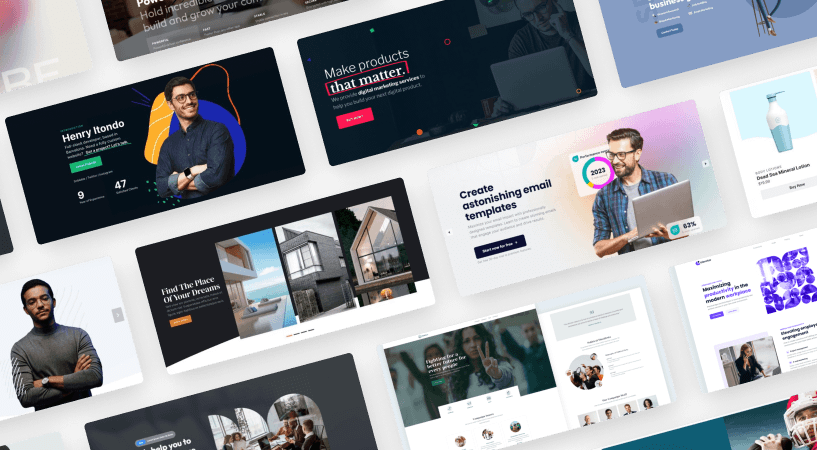
Smart Slider has got you covered even if you are not a design guru, so don’t worry. To spark your imagination, you might choose a pre-made template.
There’s a huge selection of eye-catching templates to pick from, and they can all be customized to match the feel of your website.
3. Adding Slides and Content:
Now comes the more enjoyable part. Slides should be added to your slider and it should be filled with interesting text, eye-catching images, and anything else you want to highlight.
You are not restricted to a single layout with Smart Slider 3. Allow your creativity to soar!
4. Customize Your Slider:
To customize the behavior and appearance of your slider, take a look at the slider settings. You can change the slider transition, the autoplay, the navigation, and much more.
Pay attention to the responsive settings to make sure your slider looks good on desktop and mobile devices.
Now that you are familiar with the basics of setting up your slider, let’s get into the world of animations and effects that will make your slider stand out. Let’s get started!
Understanding Slide Animations
Alright, here’s where the real magic begins! Slide animations are like the secret ingredient that adds that wow factor to your sliders. These transitions between slides can be subtle and smooth or bold and eye-catching, depending on the vibe you want to create.
How to Apply Slide Animations
1. Select Your Slide:
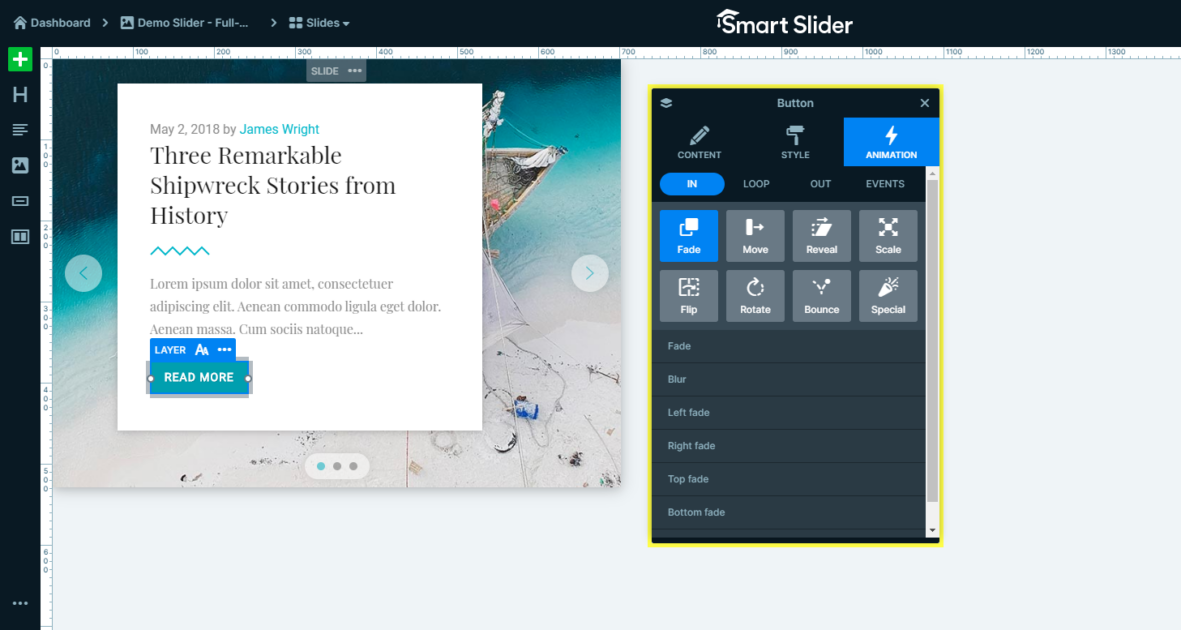
Open up your Smart Slider 3 editor and choose the slide you want to add animations to. Remember, each slide can have its own unique animation.
2. Explore Animation Options:
Once you’ve selected the slide, head to the “Animations” tab in the slide settings. Here, you’ll find a treasure trove of animation effects waiting for you.
3. Pick Your Animation:
From classic fade-ins to dynamic move-ins and captivating zoom effects, Smart Slider 3 offers an impressive range of animations to choose from.
Go ahead and experiment with different animations to see which one complements your content and brand the best.
Top Tip: Less is often more when it comes to slide animations. Subtle and elegant transitions can have a more significant impact on your audience than an overload of flashy effects. Keep your focus on enhancing the content and user experience.
Example Animations
Not sure which animation to go with? Let’s explore a couple of scenarios where specific animations shine:
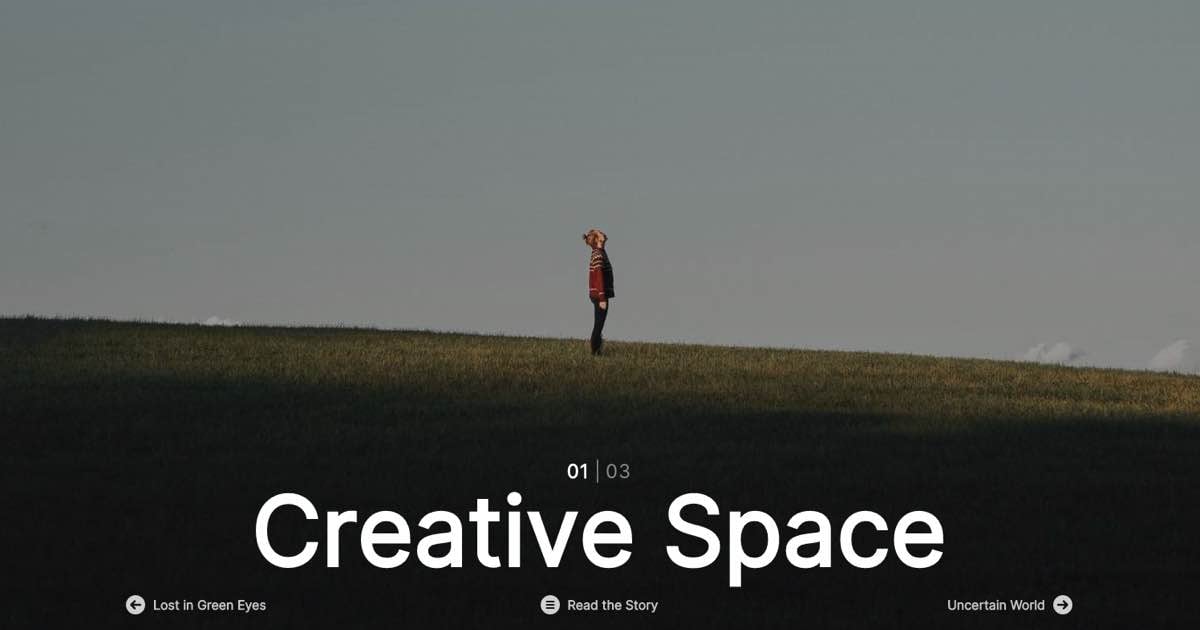
Fade-In: Ideal for a clean and professional look, the fade-in animation smoothly transitions between slides without stealing the show. It’s perfect for minimalistic designs and when you want to keep the focus on your content.
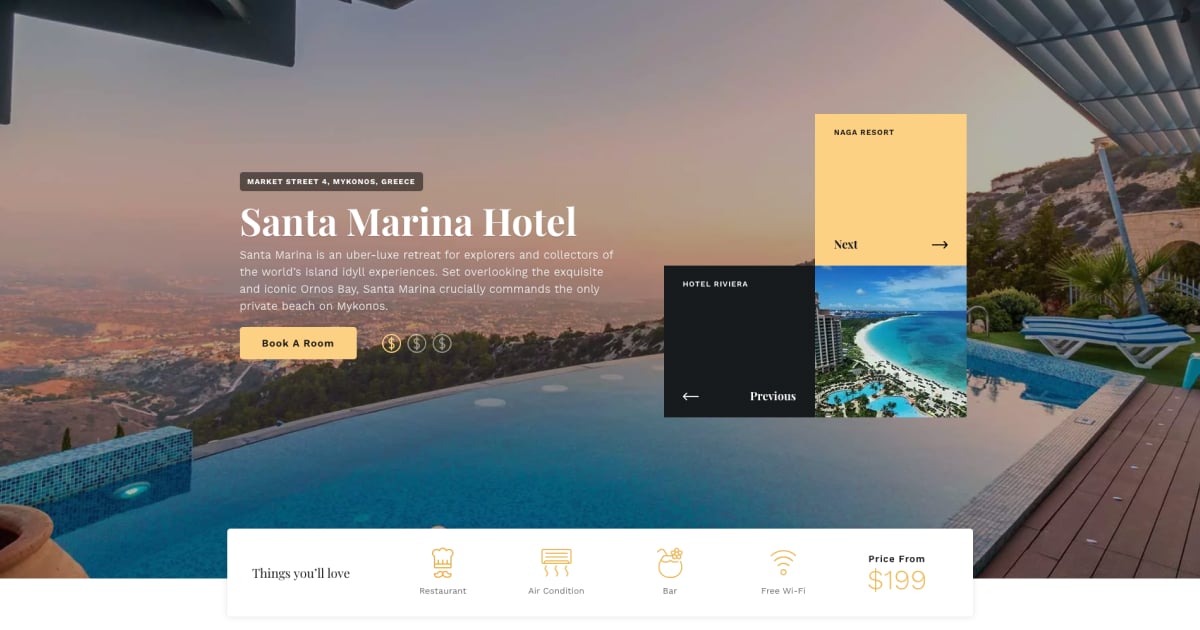
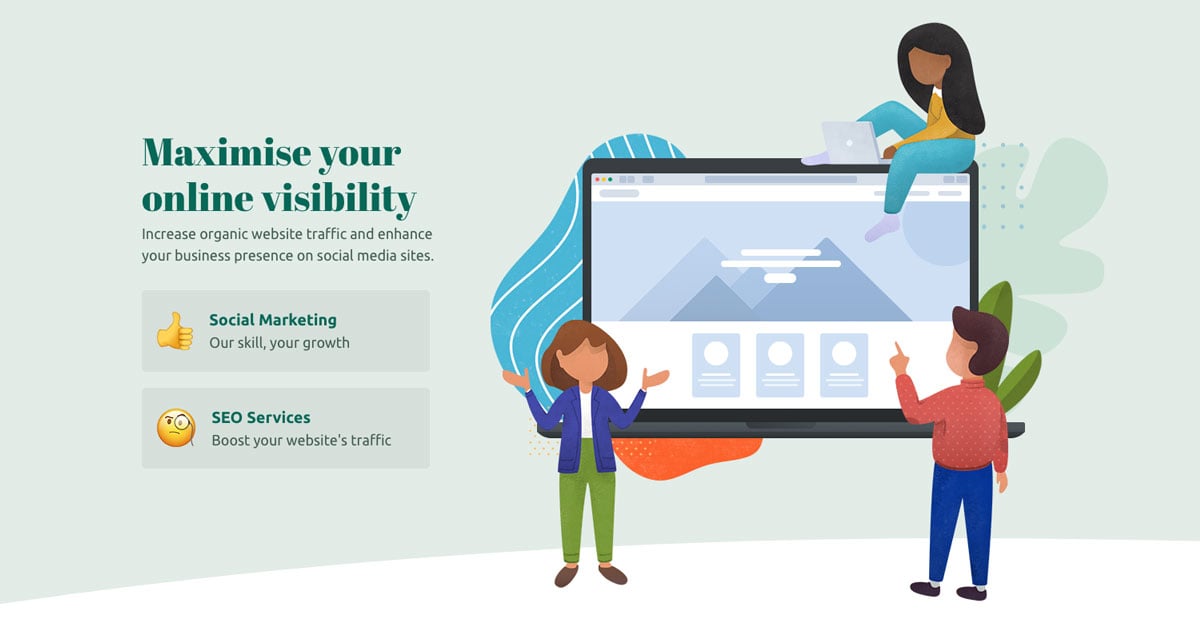
Move from Left or Right: Want to make a bold statement? The move-in effect from either side can add that extra punch to your slider. Use it to introduce new sections or showcase striking visuals.
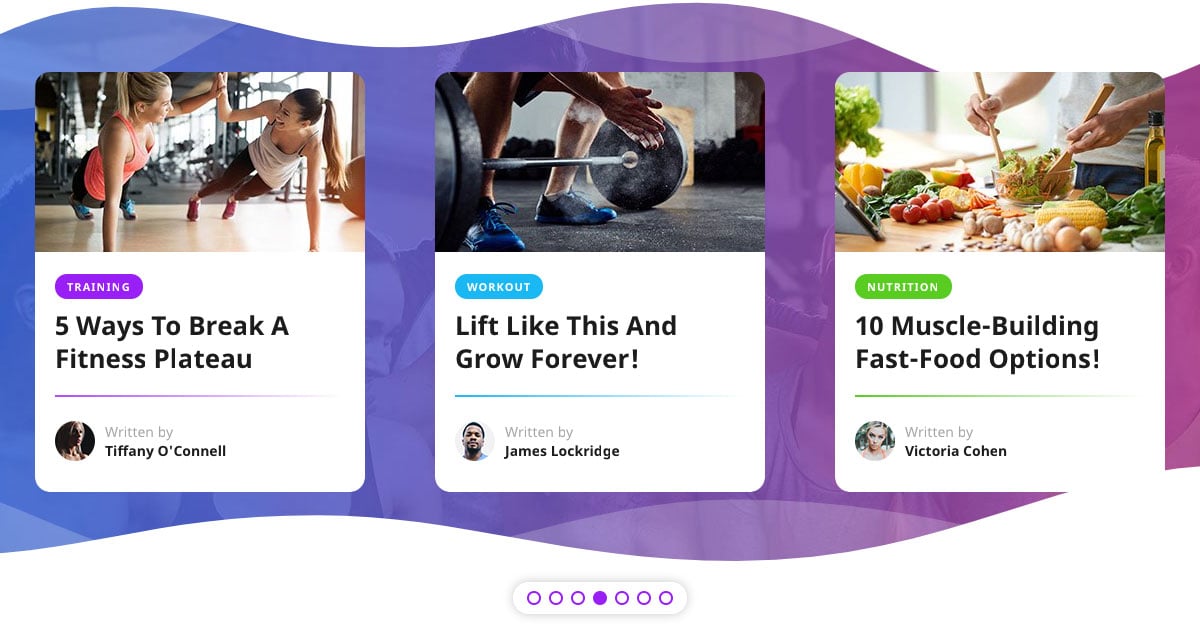
Zoom Effect: Ah, the beloved zoom effect! If you have stunning images or products to flaunt, this animation can make them pop on the screen. Your audience won’t be able to take their eyes off your slider.
Top fade
Hello.
I Am Peter.
Ui designer.
Left
Hello.
I Am Peter.
Ui designer.
Flip up
Hello.
I Am Peter.
Ui designer.
Upscaled
Hello.
I Am Peter.
Ui designer.
Flip left and Left
Hello.
I Am Peter.
Ui designer.
Remember, Smart Slider 3 gives you the flexibility to set the animation speed and even add delays if you want to create a well-choreographed presentation.
Now it’s time to let your creativity run wild and make your slides come alive with animations that leave your visitors wanting more.
Dynamic Text Effects: How to Animate Text
Okay, now we’ve got the hang of slide animations, but let’s take it to the next level! Your text elements are your slider’s storytellers. In addition, they add a whole new level of interactivity and engagement.
Ready? Let’s get started and see how we can animate text and engage your audience!
How to Animate Text
1. Add Your Text Element:
To animate text, start by adding the text that you want to animate using either the Heading layer or the Animated Heading Layer. This could be a headline or any text you want to emphasize.
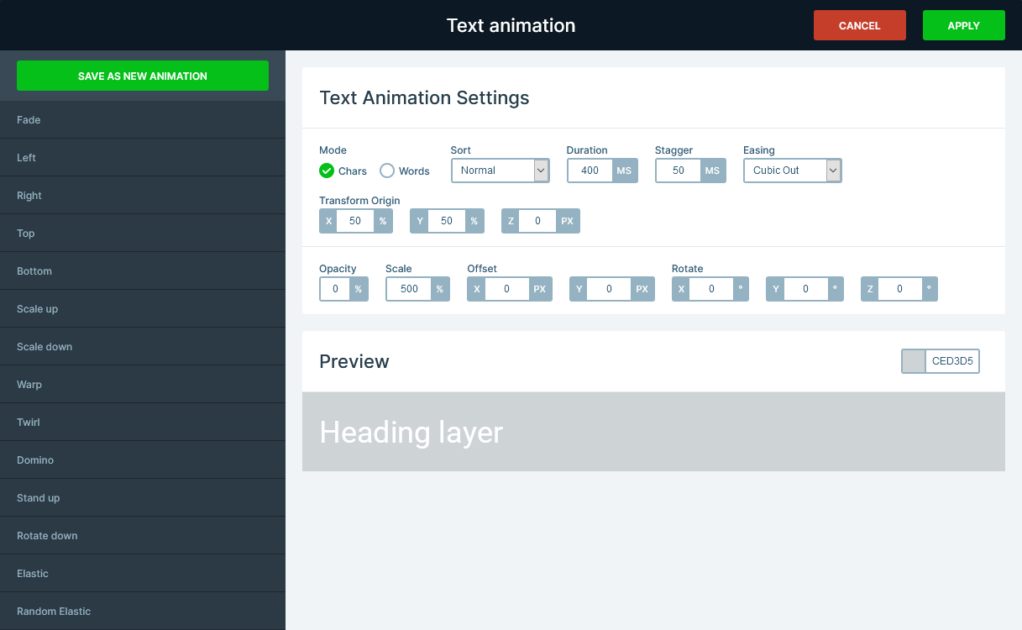
2. Add Text Animation:
Once you’ve added your Heading Layer, navigate to the “Text Animation” sections of your layer’s Content settings. Here you’ll find a variety of text animation options to choose from.
3. Explore Styles:
Check out Smart Slider 3’s selection they offer you to animate your text in different styles.
On each heading, you can set both an Incoming and Outgoing animation. Whatever you are looking for you’ll be spoiled for choice.
In addition, you can change other aspects of the animation to fine-tune it to your unique preferences.
4. Animated Heading Layer:
On the other hand, you can also go for the Animated Heading Layer, which is perfect if you want to change a specific part of the text to another one from a list. However, this effect only works if you have at least two lines of text in the Animated Text field.
Slide 1
Hello.
I Am Peter.
Developer.
Editor.
Ui designer.
Slide 2
Hello.
I Am Peter.
Developer.
Editor.
Ui designer.
Slide 3
Hello.
I Am Peter.
Developer.
Editor.
Ui designer.
Pro Tip: Ensure that the way you animate your text matches your brand’s personality and your website’s theme. It’s important to stay consistent to create a polished and professional look.
When Should You Animate Text?
There are many ways to animate your text and add value to your content. Let’s look at some cases.
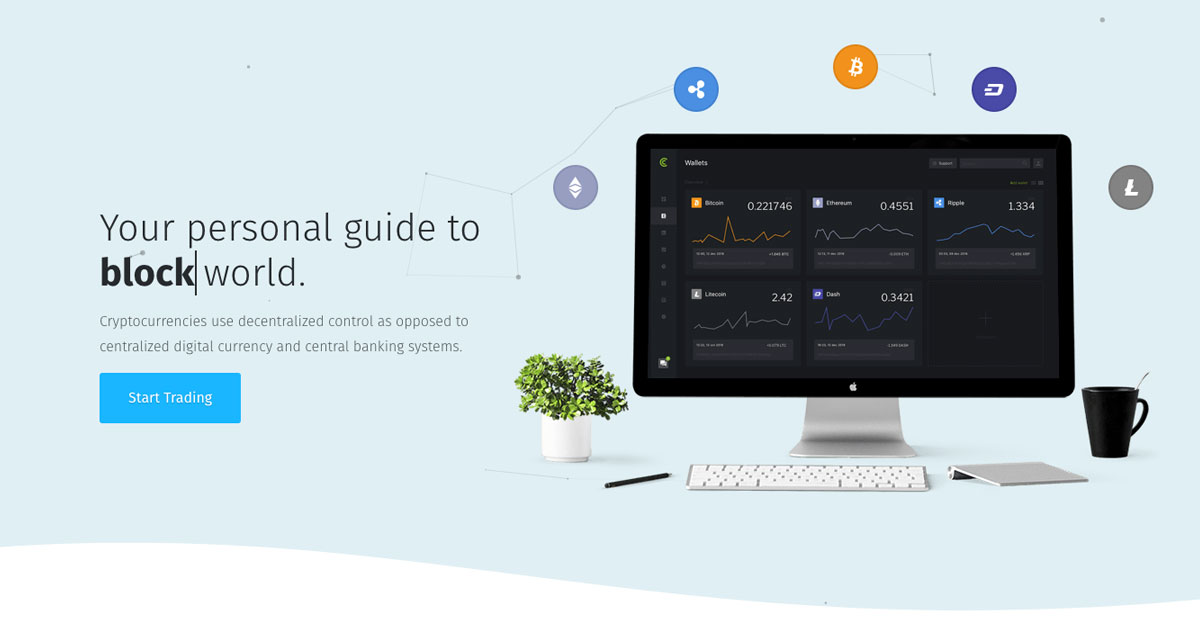
1. Catchy Headlines:
For your headline, you can use the Typewriter effect to reveal your headline letter by letter. This will create anticipation and intrigue in your visitors’ minds.
Play around with different text animations for your Headings, they can add a nice touch to your content, in a subtle way.
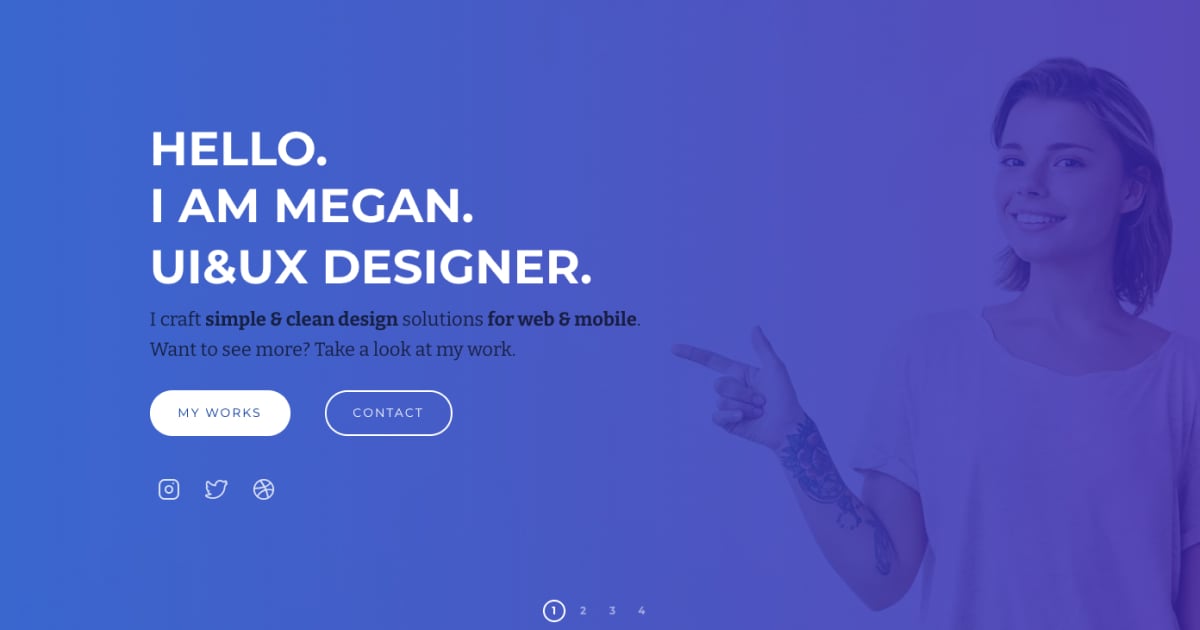
However, there are other ways it can be used to create interest, like sharing information about yourself. Adding a slow and elegant animation is the best way to make your portfolio impressive.
If you have great quotes and testimonials that you want people to read, you can choose from all the different incoming animations Smart Slider 3 offers, to focus on those impactful words.
Don’t overdo it: While text animations are a great way to grab the reader’s attention, don’t go overboard. Stick to what’s important and use animations to highlight those elements. Remember, a tiny bit of animation can make a difference in keeping your audience interested. Let your text speak for itself.
You are now in control of how your text looks and feels, so let’s create a slider that’s full of dynamic text effects.
Bringing Depth with Zoom Effect
The zoom effect is a great way to add depth and dynamics to your slide. It’s an effect that instantly draws attention to certain parts of the slide. Besides, it makes them look bigger and more alive.
How to Use the Zoom Effect
1. Select the Layer to Zoom:
To use the zoom effect, select the layer you want to use a zoom effect on. You can use any slide element, such as an image, text, or even a heading.
2. Add a Zoom Effect:
Once you’ve selected the element you want to add a zoom effect to, go to the layer settings and click on the “Animation” tab. You’ll see a list of options however, we’ll only need the scale animation.
Under it choose the one that suits your slide. Decide if you want to bring your content closer to your audience or create a subtle downscaling effect. Then, adjust its settings to your preferences. There are many different ways to use this zoom effect in Smart Slider 3.
3. Use the Ken Burn Effect:
Another way to add a unique zooming effect to your content, specifically to your background images, is to use the popular Ken Burns effect.
Head to your slider’s Animations settings and under the Background Animation section enable the Ken Burn Effect. It’s extremely simple and elegant.
Downscale
To bottom
To top right
To left
Upscale
Pro Tip: Strategically use the zoom effect to highlight important content or product details. You can also use it as a soft hover effect to captivate users when they are interacting with your slider.
Creative Ways to Use the Zoom Effect
1. Product Showcase:
If you are running an e-commerce site, highlight your product images with the zoom effect. Showing off your best offers will make your customers feel more confident in their purchase decision.
2. Interactive Image Gallery:
Create an interactive image gallery with the zoom effect. When your visitors hover over your images, they will get a much closer look, creating an interactive and immersive experience for your visitors.
3. Elevate Your Background:
Move your background a bit, by adding the Ken Burn Effect. This zoom effect is simple and elegant and works on any kind of image.
Zoom effects are a great way to add depth to your slides. However, it’s important that you remember that you don’t want to use too many zoom effects on your slider. Instead, focus on one or two essential elements to zoom in or out on and let them take the spotlight.
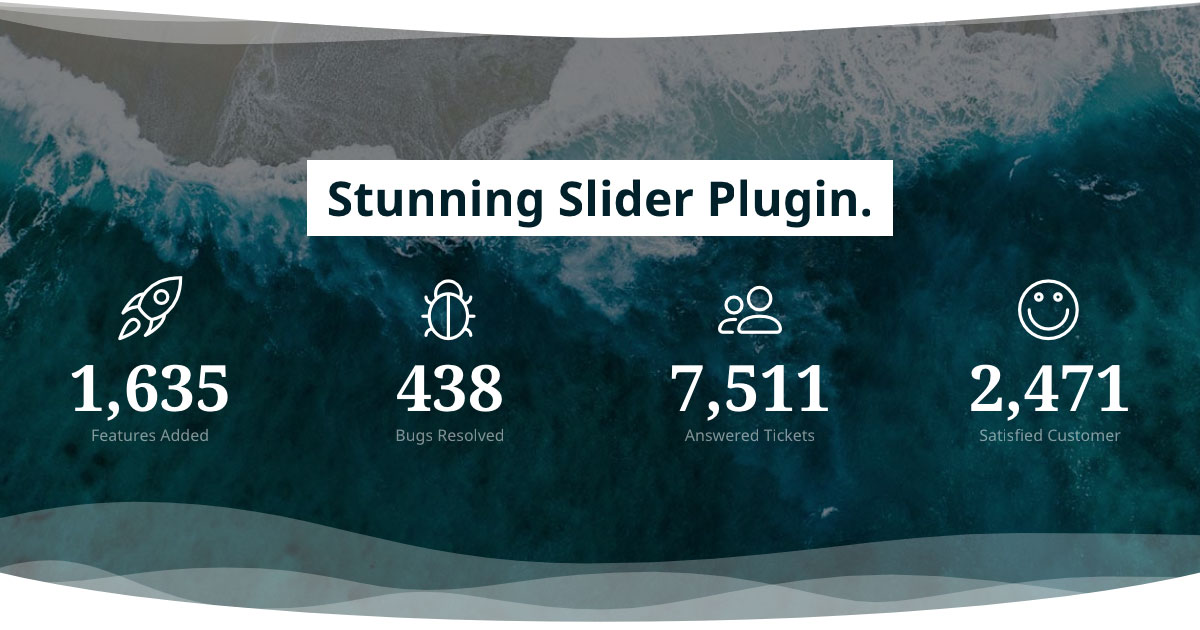
Making Waves: Using Wave Animation
Wave animations are the perfect way to add vibrancy to your sliders. So, let’s dive deep into the world of wave animations and learn how to bring your content to life.
How to Use the Wave Animation
1. Add Wave Animation to Your Background:
You can add it to your background in Smart Slider 3, so think about what slider’s background can benefit from a bit of motion.
Once you’ve chosen your slider, go to your Slider Settings page and choose the Animations tab. Inside the Background Animations section, you are provided with two different options to add a wave animation to your slider’s background. (Morph – Wave, Distortion – Wave) This type of animation will be only noticed when your visitors switch between slides.
You can also add a wave animation as a Shape Divider. Just below the Background Animation section, you can spot the Shape Divider option. They are perfect for creating smooth and interesting transitions between the sections of your website.
What’s even more, is that each shape has its own unique animation, which you can fully customize. In addition, many of them are designed as animated wave-like shapes, and setting them to continuously move creates a simply marvelous result.
Plus, Smart Slider 3 lets you customize the wave effect, giving you complete control over the intensity of the wave animation. Keep in mind that the goal is to add a thoughtful touch to your content, not overshadow it.
All in all, adding a wave animation can be a great way to give your sliders a magical touch that will keep your visitors engaged and interested in your content, so let your creativity flow.
Storytelling with Timeline Animations
In Smart Slider 3 each layer animation is shown on a timeline, where you can change its delay and duration. If you click on an animation, it will open the layer window’s animation tab, where you can edit the animation you’ve chosen.
When you press the space key, animations will start up, giving you a preview of what they’ll look like.
Another awesome thing about timeline animations is that you can copy and paste the animation from layer to layer. So if you’ve made a really complex animation, all you have to do is copy it to different layers and you can save yourself time and effort.
Tips on Creating Timeline Animations
Top Tip: Keep your timeline animation short and to the point. Focus on what matters the most to keep your audience engaged and avoid overloading them with too much information.
Use timeline animations to create a seamless narrative that grabs your audience’s attention.
Combine engaging content with smooth animations and you’ll have a mesmerizing storytelling experience that’s unlike anything you’ve seen before.
Use the timeline animations to bring life to your slider and create an unforgettable story.
Customization
Now, that you’ve learned about the different animations and effects, your slider is more interesting than ever before. But don’t worry, we’re not finished yet. In this part, we’ll customize and personalize your designs until they are absolutely perfect. So, let’s get started.
Additional Animation Settings
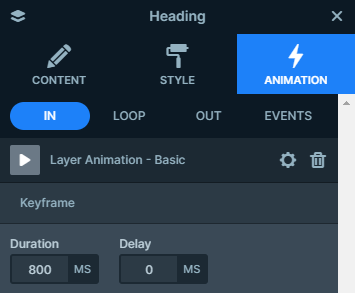
1. Duration and Delay:
Change the duration of your animations to control how fast or slow a layer animates, and you can also add delays to create a timed animation sequence.
2. Layer Alignment:
Ensure the correct positioning of your animated layers with alignment settings. It’s the small details that matter!
3. Mix and Match:
The fun part starts when you start mixing different animations and effects together. All of the above-mentioned animations and more are here at your disposal to create hypnotic effects that grab your audience’s attention and keep them glued to your content. So don’t be afraid to mix and match!
So now that you mastered the basics of animation, you’re ready to take your website sliders to the next level. Show off your creativity and let your website sliders steal the show.
Best Practices for Animation Usage
You’ve learned how to use Smart Slider 3’s animations and effects with ease. Now, let’s look at some important best practices to make the most of these dynamic tools while keeping your website fresh and professional.
Tips for Using Animations Tastefully
Keep It Simple: Animations can be a great way to grab your audience’s attention but don’t overload your slider with a ton of effects. Too many effects can be distracting and overwhelming.
Keep It Inline with Your Brand: Make sure your animations match your brand’s identity and design. Stick to a consistent style and color scheme to reinforce your message and create a unified experience for your audience.
User-Friendly Experience
Navigation: Make sure your slider’s navigation is easy to understand and use. Give a clear overview of how the slider should be navigated.
Attention Span: Attract your audience’s attention in the first few seconds. Avoid animations that are too long, as visitors may lose interest and move on.
Testing: Make sure to test and preview the slider on different devices and browsers to ensure it works properly and looks the way you want it to.
By following these tips, you can make your sliders look amazing and not only let your audience see what you have to offer but also make their experience on your website better. Keep in mind that the key is to find the perfect balance between creativity and usability.
Conclusion
To sum up, your sliders will be full of life and imagination. From slide animation and zoom effect to how to animate text and create wave animation, we’ve even touched upon the captivating timeline animation and more. You’ve come a long way on this animation journey and Smart Slider 3 has been the perfect partner along the way.
Keep in mind that the best way to use animations is to keep them tasteful, relevant, and in line with your brand’s identity. Less is more when it comes to animations, a cohesive and visually appealing slider will leave your visitors with a lasting impression.
Thank you for joining us in this journey of animations and effects! Your commitment to improving the visual appeal of your website and engaging your audience is truly admirable.
Get on board! Join our 142,416 subscribers!
Get our latest news, tutorials, guides, tips & deals delivered to your inbox.
Hey there! I’m Sara, and I’m part of Nextendweb’s team. When I’m not working, you can usually find me baking up a storm in the kitchen. I also love going outside for a run. Above all, spending quality time with my friends and family is what makes me the happiest.