It’s no secret that with Smart Slider 3, you can create beautiful and powerful sliders using pre-built templates and a visual drag-and-drop interface. You have a ton of flexibility – you can add animations, include media content, and even dynamically insert content from your WordPress site.
One thing you can’t do, though, is offer your sliders in multiple languages. If you have a multilingual audience, which a lot of sites do, that might make it tough for people who aren’t fluent in your site’s language to interact with your sliders. There are a lot of WordPress translation plugins. But while those plugins might work fine for translating traditional content inside the WordPress editor, they often struggle to translate the multimedia content in a slider. The majority of them require that you duplicate the content and create one slider for each language.
With the right translation plugin, though, you can fully translate 100% of your slider’s content, including its:
Text
Buttons
Images (yes – you can use different slider images for different languages)
Etc.
By the end of this post, you’ll be able to fully translate the sliders that you create with Smart Slider 3 using a simple visual interface like this:
Let’s get translating!
Smart Slider 3 + TranslatePress: Multilingual Best Friends
If you want to fully translate sliders in WordPress, you can use the TranslatePress WordPress translation plugin. TranslatePress integrates with Smart Slider 3 right out of the box – there’s no need for any special technical setup.
Smart Slider 3 lets you use a lot of different content elements, and you’ll be able to translate all of those elements using TranslatePress’ visual translation editor. You’ll be able to translate:
All text and headings
Button text
Images
Destination URLs (for example, you can link a button in your slider to a different page depending on a user’s language)
You can either manually translate your sliders from scratch. Or, you can connect to automatic translation services like Google Translate or DeepL to use machine translation. Even if you start with machine translation, you’ll still be able to go back and manually edit all of your translations. And no matter which approach you use, all of your translations are SEO-friendly and ready to be indexed by Google.
TranslatePress is available for free at WordPress.org, and we’ll use the free version in this tutorial to translate Smart Slider 3 and create a multilingual WordPress site.
The new way to build a Slider
Next generation visual editor, customizable animations & effects, and access to hundreads of premade templates.
Here’s the simple three-step process to creating a multilingual slider on WordPress:
Create your slider with Smart Slider 3
Install TranslatePress and choose your languages
Use the visual translation editor to add your translations (or edit machine translations)
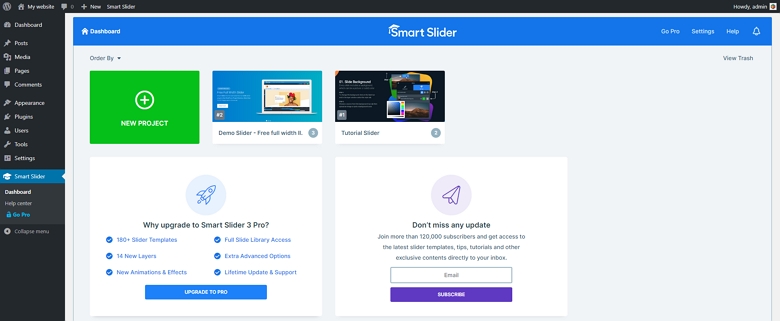
1. Create Your Slider (If You Haven’t Already)
If you haven’t already created your slider, your first step is to use Smart Slider 3 to set up a new slider. You can use the free version or purchase Smart Slider 3 Pro for even more flexibility. To get started, go to the Smart Slider area in your WordPress dashboard. There, you can either create a New Slider from scratch or open the Template Library to start from a pre-designed template. We’ll use one of the many templates for this tutorial.
Smart Slider 3 Dashboard
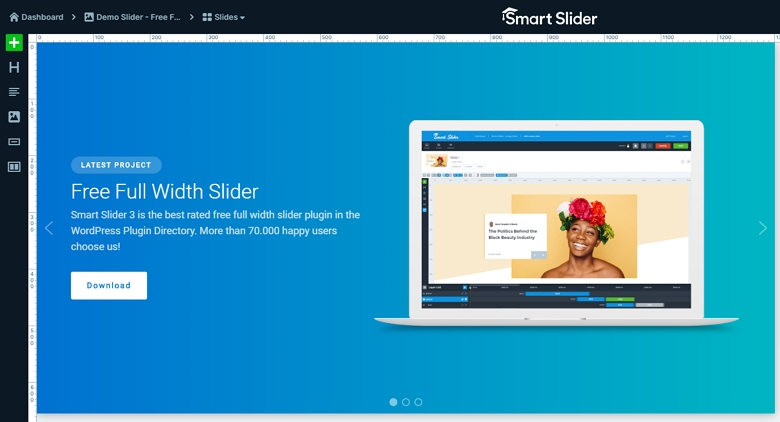
Once you choose your template, you can use the Smart Slider 3 interface to customize all aspects of your overall slider and individual slides. Feel free to incorporate as many design elements as you’d like. You can include buttons, images, etc. and you’ll still be able to translate all of those elements using TranslatePress.
Slide editor
Once you’re happy with how your slider looks and functions, make sure to Save it. Then, you can include your slider in any WordPress post or page by using a shortcode or the dedicated Smart Slider 3 Gutenberg block.
Now, it’s time to get translating!
🎓 If you want a detailed look at how to create sliders with Smart Slider 3, you can check out the tutorial videos or the text documentation.
2. Install TranslatePress and Configure the Basics
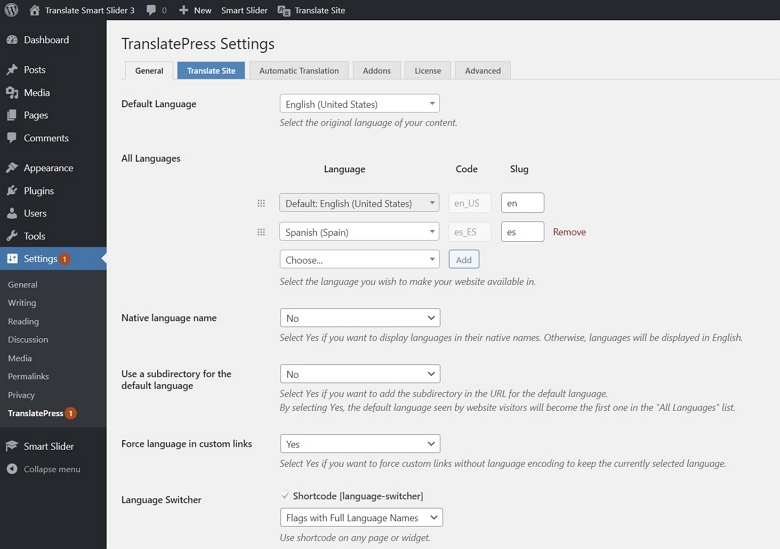
Before you can start translating your slider, you need to install the TranslatePress plugin and set up the basics, like the language(s) into which you want to translate your slider’s content. To begin, install and activate the TranslatePress plugin. Then, go to Settings → TranslatePress to configure the basic settings for your translations.
First, use the Default Language drop-down to select the language that your site/slider currently exists in. Then, you can use the All Languages settings to add one or more languages into which you want to translate your site’s content.
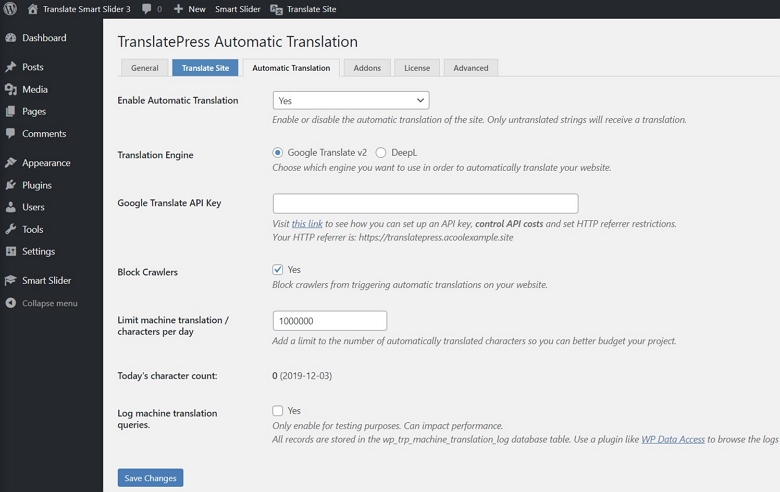
You can also configure some other settings here, like how to display language names and where to include your language switcher. If you want to start by using machine translation to automatically translate your content, you can go to the Automatic Translation tab to enable automatic translation and choose your preferred translation engine.
Make sure to save your changes. Then, you’re ready to start translating your slider.
3. Use the Visual Translation Editor to Translate Your Slider
To access the TranslatePress editor, open the post or page with your slider on the front-end of your site. Then, click the Translate Page button on the WordPress toolbar.
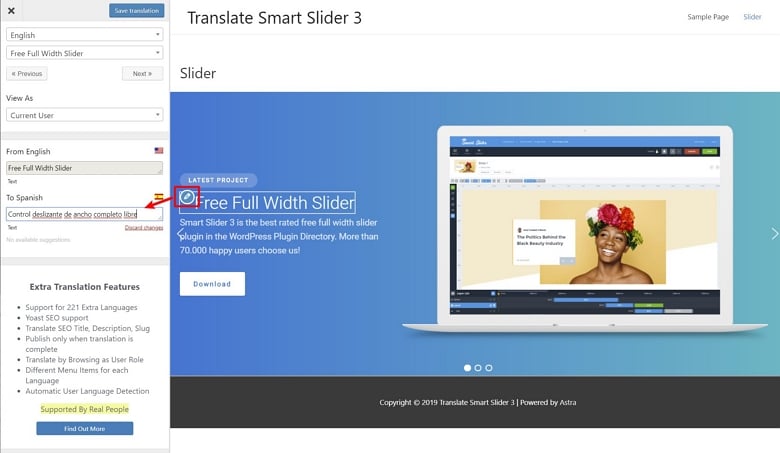
The translation editor looks a lot like the WordPress theme customizer – you’ll see a translation sidebar on the left and a live preview of your site/slider on the right. To translate any content in your slider, all you do is hover over the element that you want to translate and click the pencil icon. That will open the translation in the sidebar, where you can enter your translation in the box.
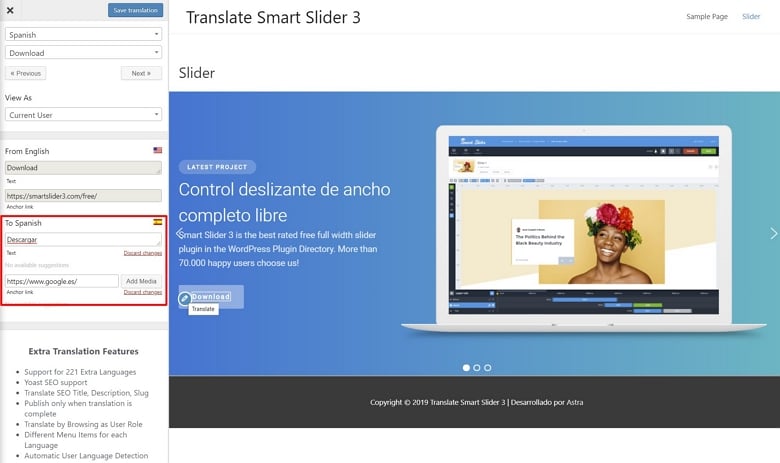
You can use this same basic approach to translate non-text elements, too. For example, to translate the button, you just hover and click the pencil icon again. If you’re translating a link, like a button, you’ll also get a new option to “translate” the button’s destination URL. That is, you can send users to a different URL based on the language that they’re using.
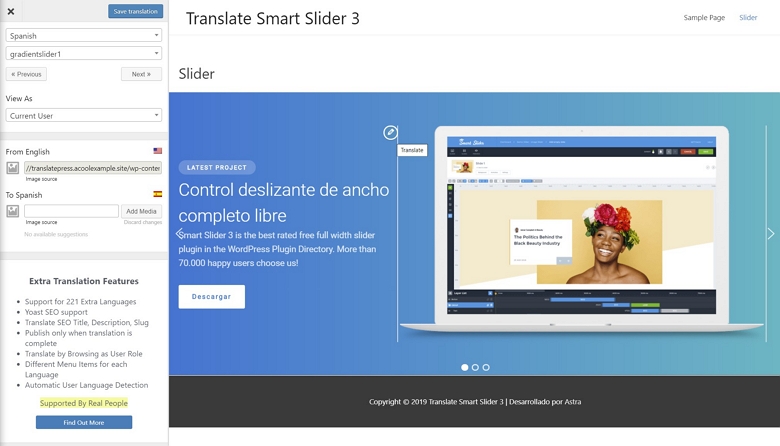
You can even “translate” an image in your slider using the same approach. Users will then see different images in your slider based on their language, which helps you further localize your sliders.
The live preview of your website is totally interactive. So once you’ve translated the first slide in your slider, you can use the arrow navigation to open the next slide and translate that as well. You can repeat the process for as many slides as needed. And there you have it – that’s how to fully translate Smart Slider 3 with TranslatePress.
TranslatePress can also help you translate a lot more than just your sliders. You can also use it to translate WooCommerce products, forms, popups, and any other content that shows up on your WordPress site.
Go Pro for Even More Translation Features
You can fully translate your Smart Slider 3 sliders using the free version of TranslatePress. In fact, you can accomplish everything that you saw above using the free version. If you upgrade to TranslatePress Pro, you can get access to even more translation functionality, though.
First, you’ll be able to translate your WordPress site into unlimited new languages, whereas the free version only supports one new language. So if you want to offer your sliders in more than two languages, you’ll want the Pro version. You’ll also get access to an SEO Pack addon, which helps you improve your site’s multilingual SEO. While the free version of TranslatePress creates fully indexable translations, the Pro version lets you also translate your URL slugs, page titles/descriptions, Facebook Social Graph tags, and image alt tags. It also adds support for a multilingual SEO sitemap via Yoast SEO.
Other premium features include:
Dedicated translator accounts.
An option to browse your site as different user roles, which is super helpful for membership sites or other sites that display different content based on a user’s role.
Show different menu items for different languages (vs just translating the existing menu items in the free version).
Support for DeepL for automatic translation.
An option to automatically redirect users based on their language preference.
Get on board! Join our 142,416 subscribers!
Get our latest news, tutorials, guides, tips & deals delivered to your inbox.
No spam. No charge. Just curated emails.
Start Translating Smart Slider 3 Today
Smart Slider 3 is already the most flexible way to create great-looking sliders on WordPress. With TranslatePress, you can take those beautiful sliders and make them accessible to more people by fully translating your slider content into as many new languages as needed.
TranslatePress works with Smart Slider 3 right out of the box and you can manage all of your translations from a simple visual translation interface. Get started with TranslatePress and Smart Slider 3 today to create multilingual sliders on WordPress.
Colin Newcomer is a freelance writer and long-time Internet marketer. He specializes in digital marketing and WordPress. He lives a life of danger, riding a scooter through the chaos of Vietnam.