
Smart Slider 3 is a content presentation plugin that can be used to present various types of content to your website’s visitors. It is not only a great plugin but also helps create an example of how such content plugins should be made.
Smart Slider 3 is an innovative content tool that helps create YouTube, Vimeo, and WordPress post sliders. It brings with it an easy-to-use slide editor with different layers. Smart Slider 3 is free but there is also a premium version that is available to download as well.
This is a guest post written by Saud Razzak, who is the WordPress Community Manager at Cloudways. If you would like to write a guest post contact us.
In this tutorial, I’ll be checking out how Smart Slider 3 works on WordPress websites, while using Cloudways, a managed cloud hosting platform.
But why Cloudways?
Cloudways is a managed cloud hosting platform that comes equipped with top-notch cloud infrastructures, i.e., DigitalOcean, Linode, Vultr, GCE, and AWS servers, along with 60+ global data centers. One of the main reasons I chose Cloudways is that every server on Cloudways comes pre-configured with Linux, PHP – FPM, NGINX, Varnish, Apache, MySQL/MariaDB.
Cloudways offers a free trial to use its integrated services with no hassles.

In addition, Cloudways also supports hosting for PHP-based web applications. In total, Cloudways provides more than 10 apps installation options, including WordPress. Testing Smart Slider 3 on such a platform would be interesting, so I went for it. Here’s how the test went.
Signing Up With Cloudways
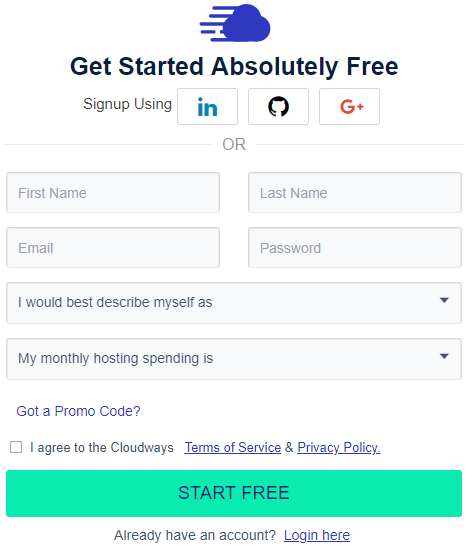
First thing’s first, I signed up for a free trial with Cloudways. The process was really fast and easy.
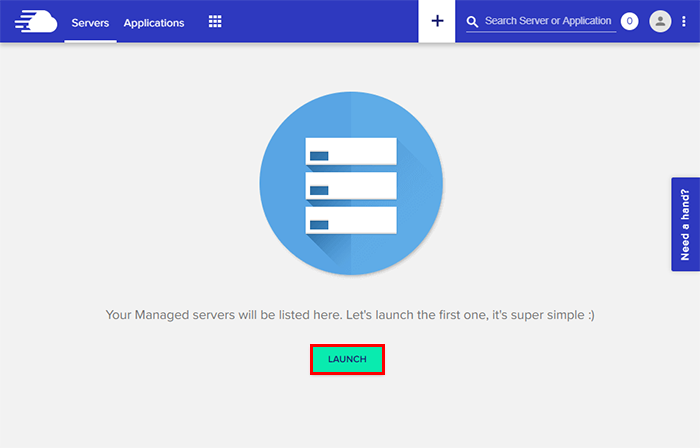
After verifying my details, I logged into the account and clicked on the Now verify your email address and then logged into my account. I then clicked on the Launch button.
Selecting my Application
I selected WordPress as my application. However, you have the option to use the latest version of WordPress, WordPress Multisite, WordPress with WooCommerce, or clean WordPress (without any optimization).

Selecting my desired Infrastructure
Here, I had five different cloud infrastructures to choose from. For this test, I am selected DigitalOcean as my server.

Select Your Server Size
After selecting my infrastructure, I also had the option to scale my server size whenever I needed.

Select Your Server Location
I chose the nearest location of my data center for perfect latency.

Next, wait a few minutes till your server is ready!
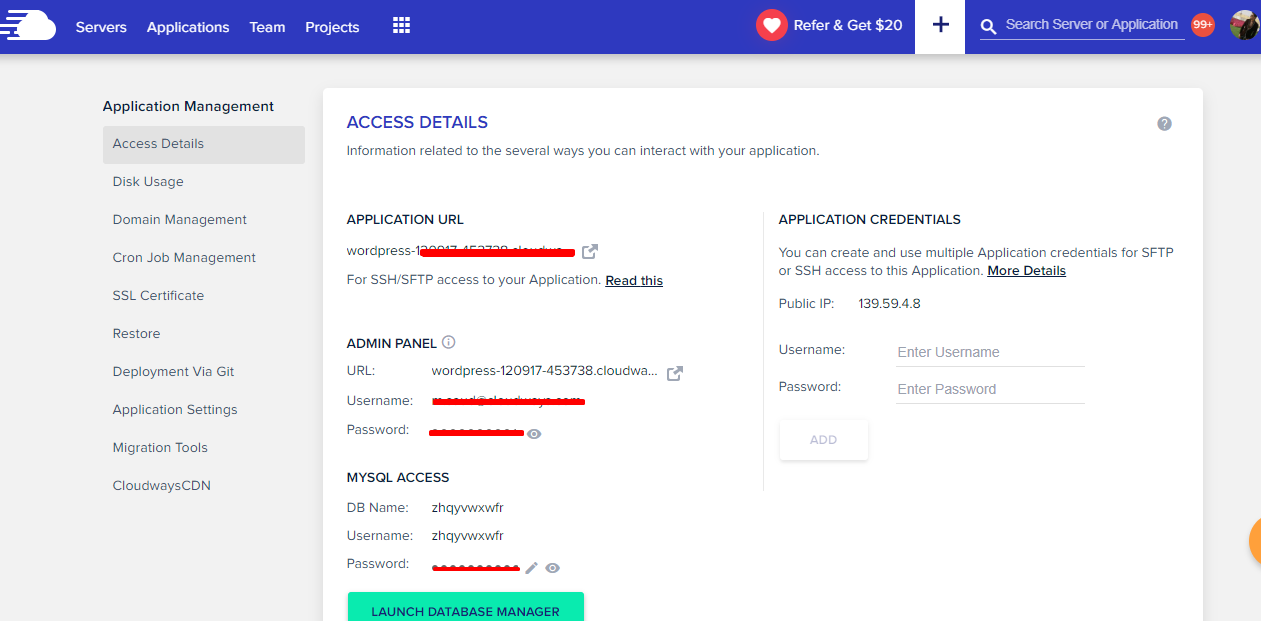
Access Your WordPress
After the server was finished with the launching process, I went to the Application > Application Management tab. Here, I found the login details of my newly installed WordPress server.
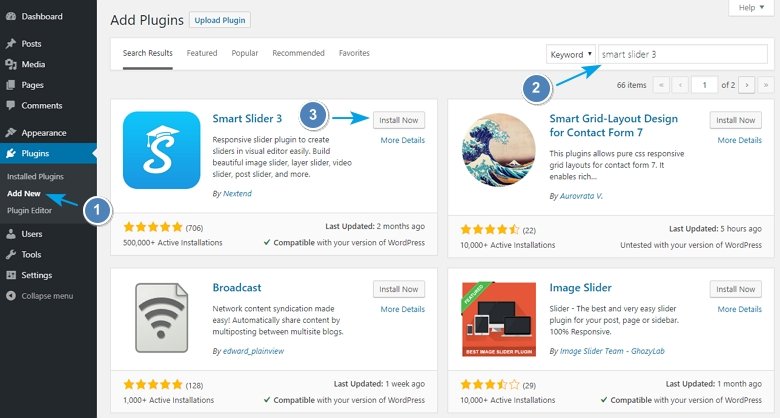
Installing Smart Slider 3 Plugin
Now for the installation of Smart Slider 3 plugin. Here’s what I did. I went to the Dashboard and then navigated to Plugins > Add New, searched for Smart Slider 3, installed it and then activated it.
After that, I saw the Smart Slider option appear on the WordPress admin sidebar. I clicked on the Smart Slider tab and was taken into the Dashboard of this plugin.
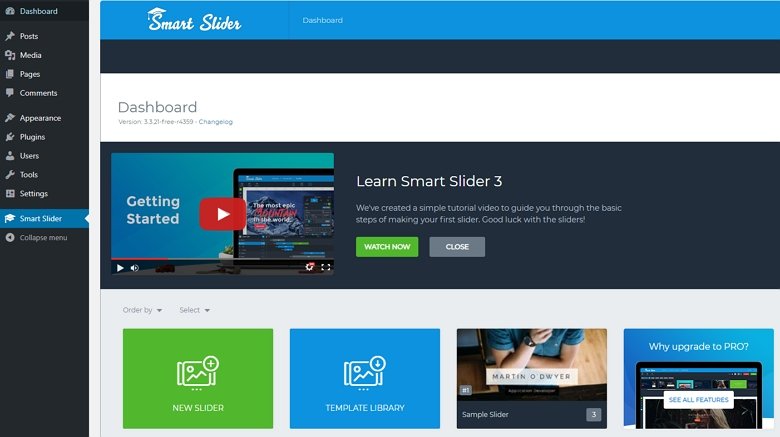
Creating a Slider
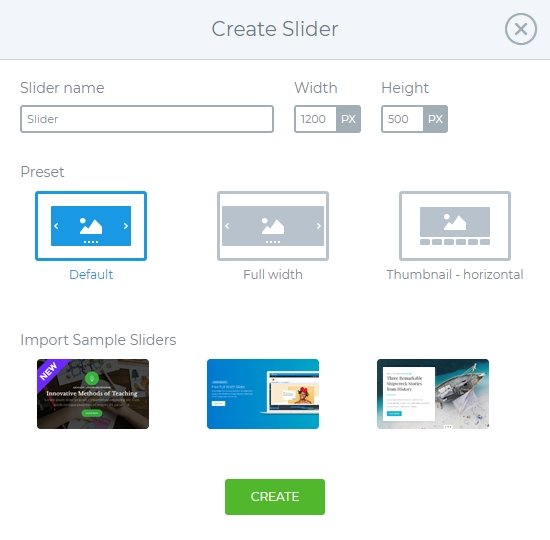
To create a slider, I clicked on “New Slider,” after that, a pop-up appeared where I could add slider name, width, height, and preset. I could also import sample sliders as well. After configuring all the settings I wanted, I clicked on the “Create” button.
The slider was created successfully. The next step was adding more slides.
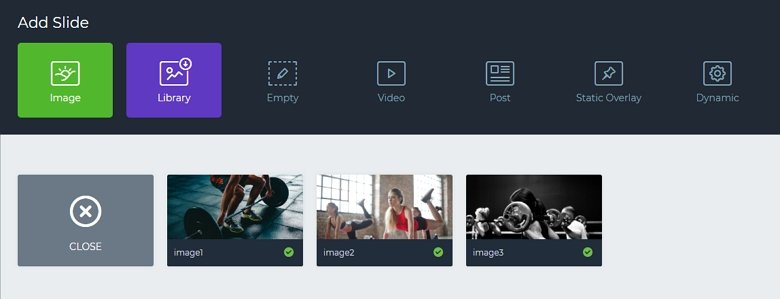
Adding Slides
On the slider page, I added three slides. But you can add more than three slides, if you want.
Slider Options
In this section, I saw two sections. The first section allows changing General Settings, Size, Slider Autoplay, Optimize, Loading, and Developer Settings.
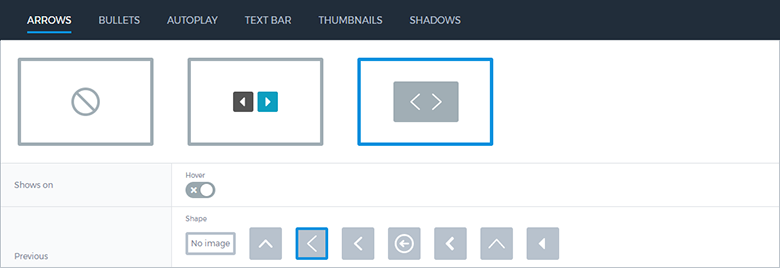
The second section allows controlling the UI settings like Arrow, Bullets, Autoplay, Text Bar, Thumbnail, and Shadows.
You can also add some additional settings by going to the Setting tab that appears on the Dashboard top bar.
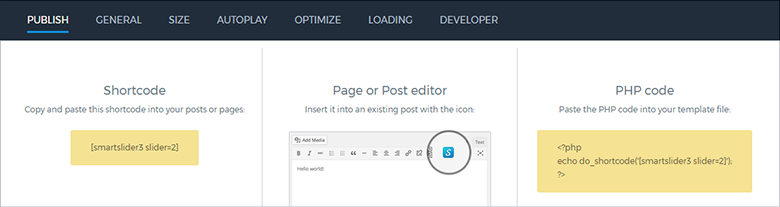
Publishing Slider
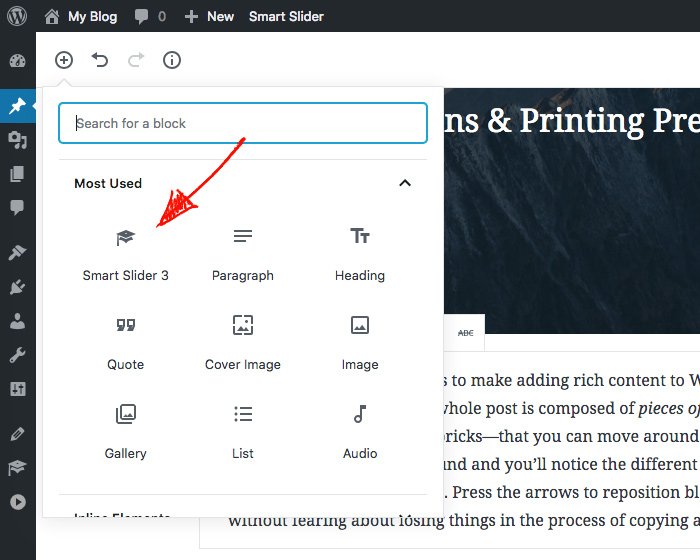
Now that my image slider is ready, I wanted to publish that on a post, so I went to the post (where I wanted to add the slider), then I inserted the Smart Slider 3’s Gutenberg block, and selected the previously created slider.
You can also add this slider anywhere you want including widgets, pages, etc by using a shortcode, and Smart Slider 3 has integration with the popular page builders, too.
Final Words
Adding a slider for my WordPress website was a great choice and a very easy experience. As demonstrated, you saw that I successfully added a slider to my demo website and it looks great!
If you haven’t tried the Smart Slider plugin, I would recommend you to use Smart Slider for your WordPress website. If you need any help, feel free to ask me via the comments section below.